Flux LoRA Training Noob's Guide(2026) - Step-by-Step for Consistent Characters

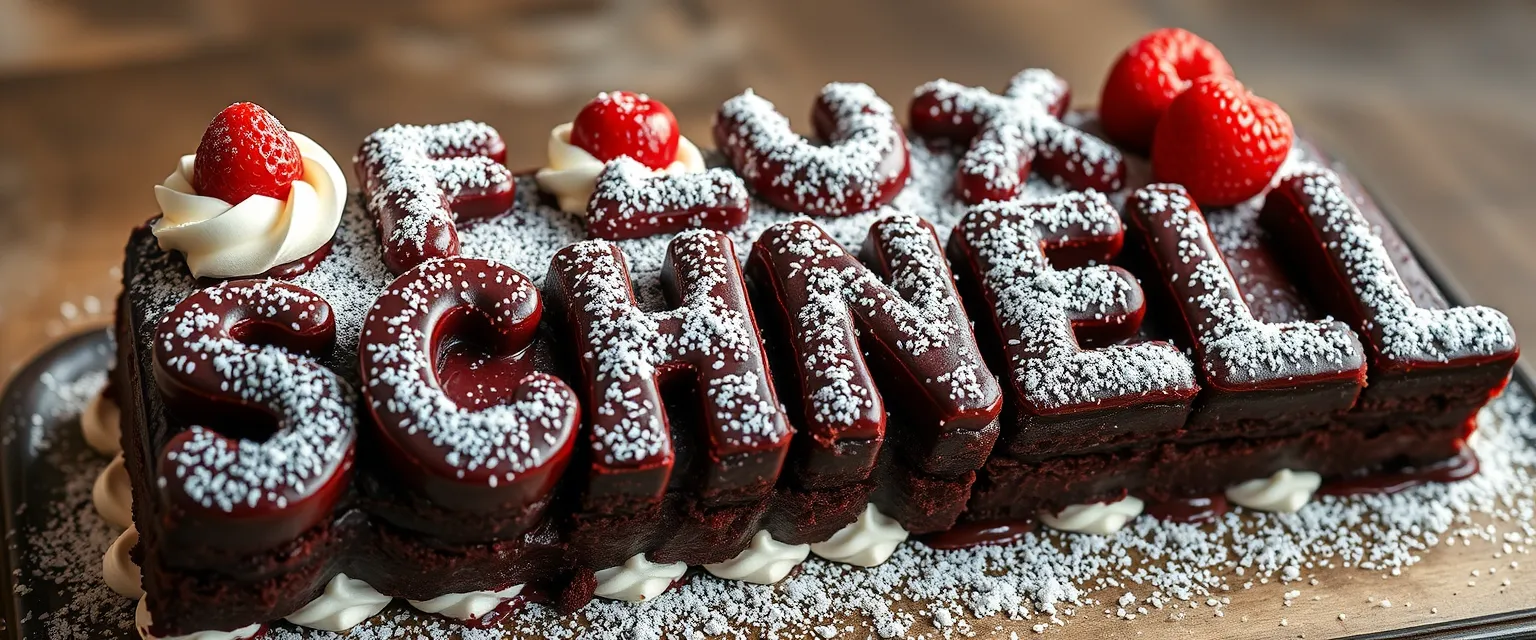
AI portrait generated with a custom Flux LoRA trained on reference photos
You want the same face or product in every AI image without fighting the model each time. That's what Flux LoRA training is for. In this step-by-step Flux LoRA training guide, you'll pick a small dataset, write captions with a trigger word, train on TheFluxTrain, and generate new scenes with Flux.1 Dev. I trained person and product LoRAs for the examples below; the person run took about 20 minutes and ~2000 credits ($4).
Quick answer: Flux LoRA training fine-tunes Flux on your photos so one trigger word keeps a character or product consistent. Budget 5–20 images, ~20 minutes of training, and about $4 in credits on TheFluxTrain. When your dataset is ready, start Flux LoRA training.
Ready to train? Open Flux LoRA training on TheFluxTrain — upload photos, caption them (or autocaption and edit), hit Train, then generate with your trigger word. Product and style training use the same flow from /create. For API details, see the LoRA docs. Building an AI influencer? Continue with the AI influencer tutorial after training.
Note- Training and generation on TheFluxTrain use credits; this tutorial is not a free-only workflow. FAL, Replicate, and Civitai are alternatives if you prefer another host.
Flux LoRA fine-tunes Black Forest Labs' Flux model on your data. It's lighter than full fine-tunes and works well for faces, products, and art styles. Flux.1 Dev gives the best quality; Flux.1 Schnell is faster on weaker GPUs.
Basics
Dataset Selection: Choose 5–20 clear, high-quality images that best represent you or your product. Ensure they capture key features you want to highlight. Aspect ratio of the image doesn’t matter, but make sure they are at least 1024px resolution.
Captioning the Images: Describe each image in detail, using specific, uncommon words that uniquely define the subject’s key attributes. More on this latter.
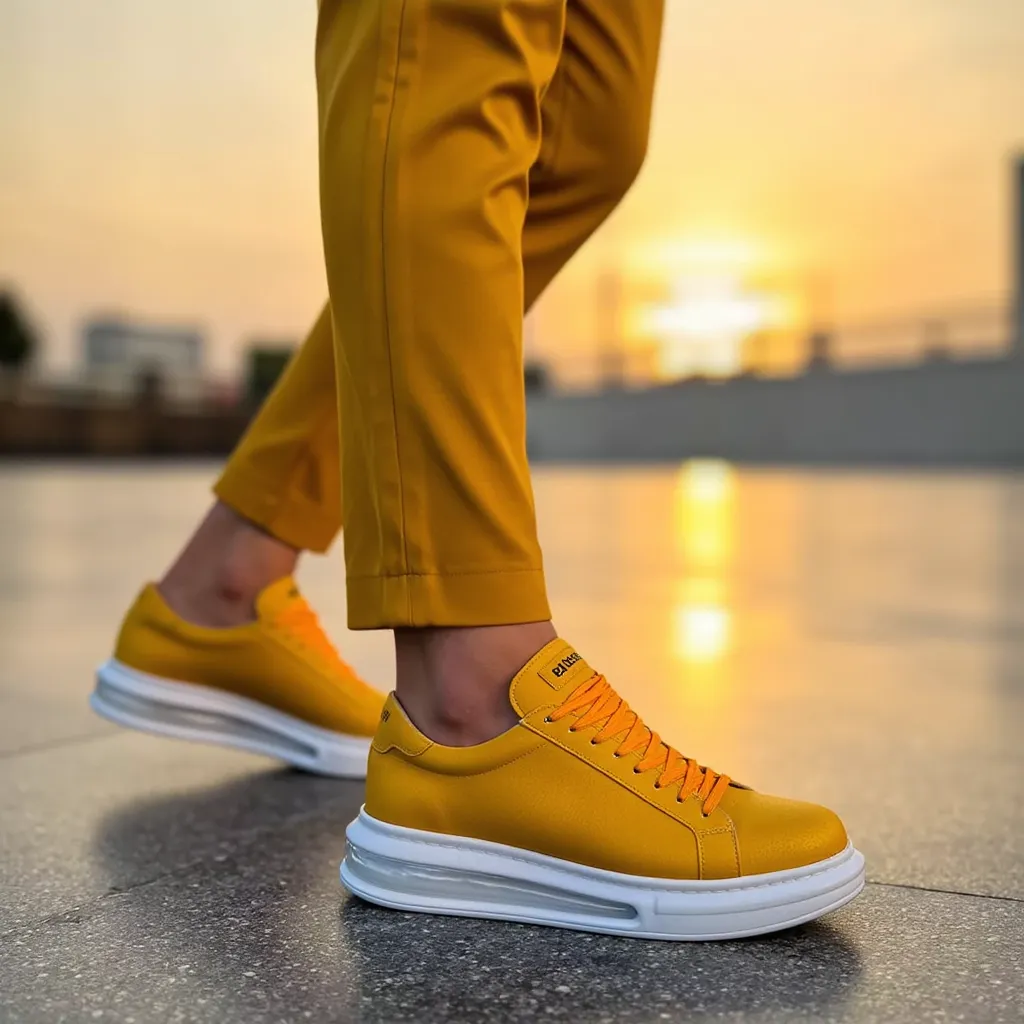
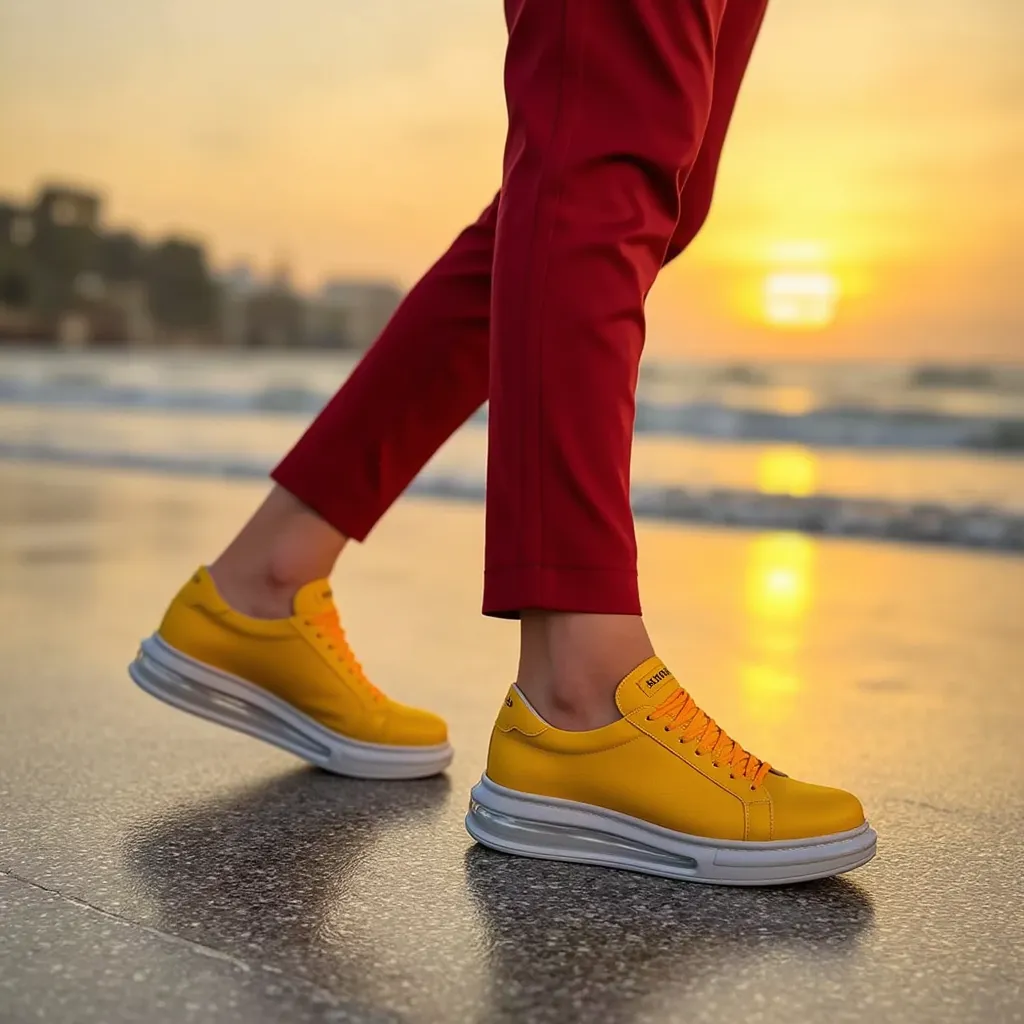
Training the Model: Several services can be used for training, such as Replicate, FAL, TheFluxTrain, or Civitai. For this guide, we will use TheFluxTrain due to its user-friendly interface and the ability to input custom captions directly during the training process. First, I’ll show you image that I generated using the finetuned Flux LoRA.
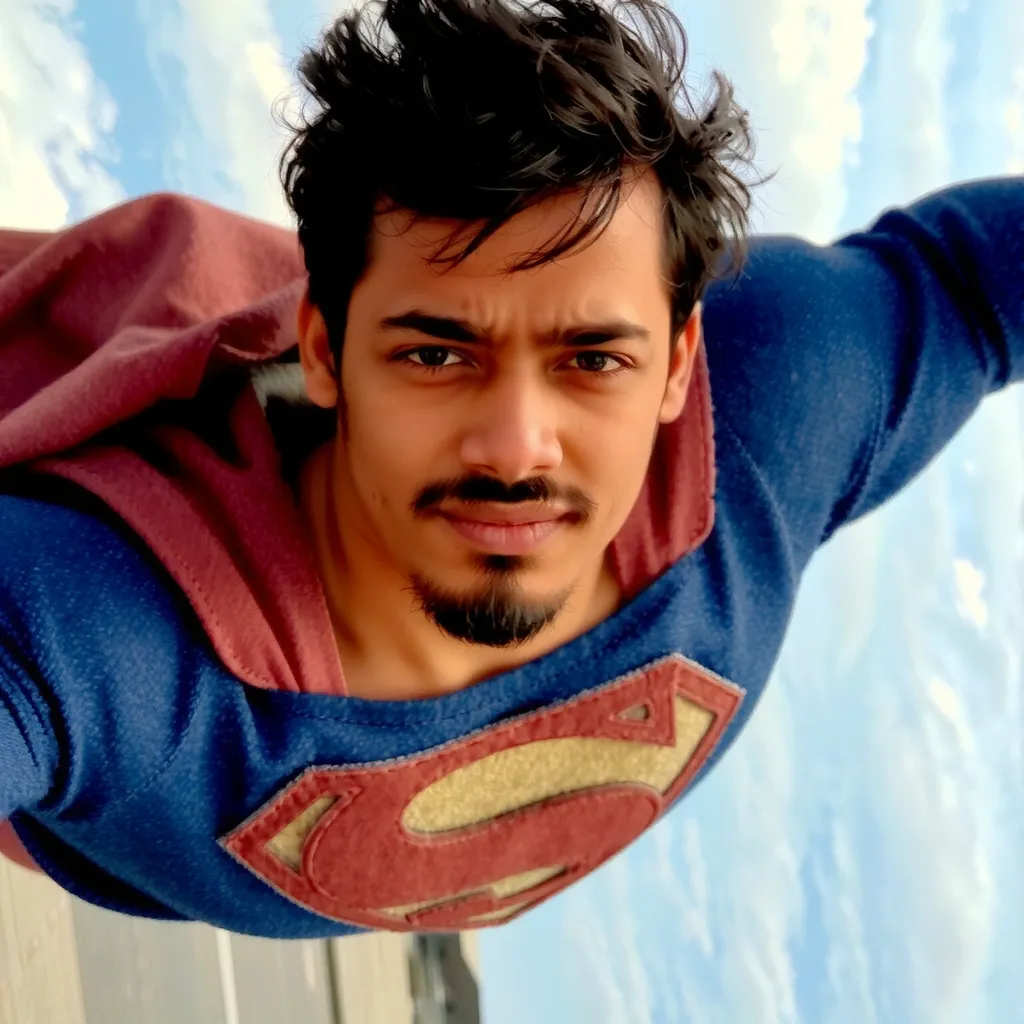
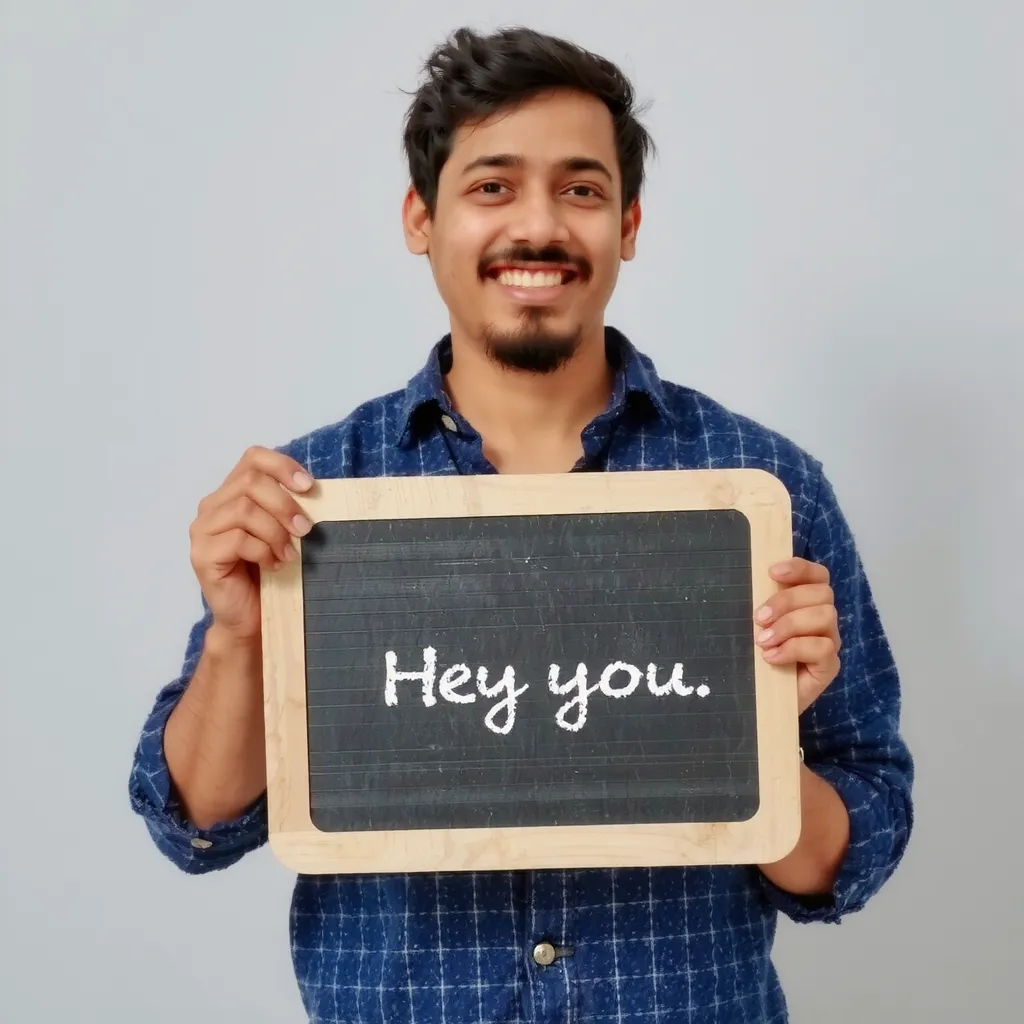

Here are some images that I used for training. Notice the variety in the background. This is very important for AI to understand how to blend your photos in a variety of background. And it also helps to understand the attributes specific to you.



Captioning the Images
Once you have the image, you should caption it. The caption has to very descriptive. It must describe the background and attributes that are not specific to you in details. For example, shades, cloths, bags, etc. During experimentation, I found it useful to describe environment like wind, etc as they interact directly with you image and affect you hairstyles and looks.
TheFluxTrain has an option to autocaption the image during the training, and works fine. But adding your own custom caption produces much better results.
However, writing a good, detailed description that aligns with the model’s representation of the world is very challenging. Thankfully, you don’t have to start from scratch. The platform has feature to generate caption using AI, which you can improve.
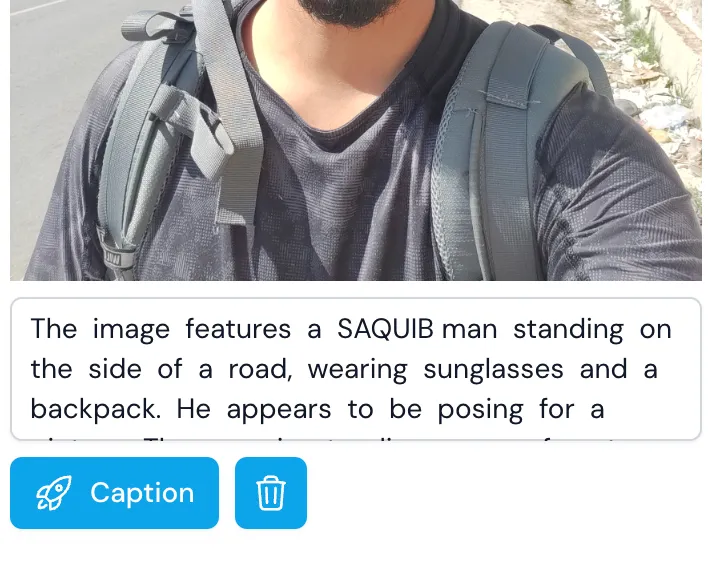
In LoRA, we have a concept of trigger word. This trigger word is intended to capture the details of your image. In the above example, SAQUIB is the trigger word. It has to be something abstract or uncommon. Also, adding the gender after the trigger word helps a lot. Add this keyword wherever required in the sentence. You should also clean the caption as it may contain some details which has very little significance.
After we caption all the images, its time to hit the TRAIN button. On clicking this button, we will be presented with some options. Use the below setting. For person training, usually around 1200 steps is fine. You may need more steps for products with lots of details.
I tried with many LoRA ranks, 32 works best. Lower than this fails to capture enough details, and higher value overfitts real quick.
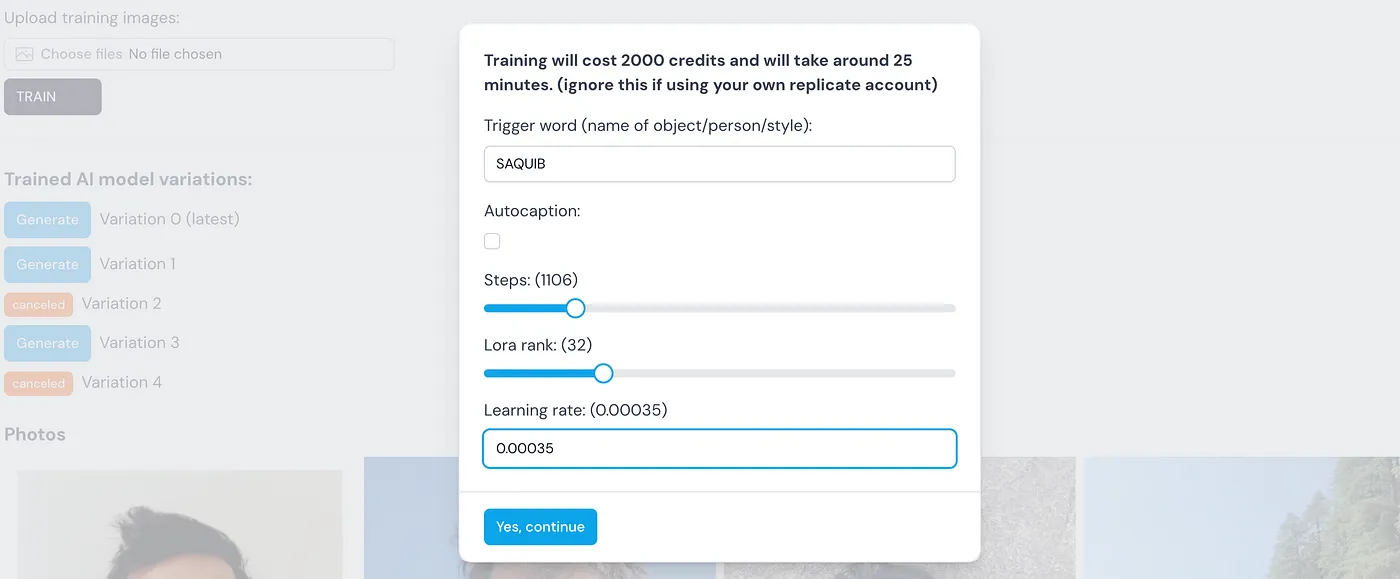
It took around 20 minutes to train this lora and costs around 2000 credits ($4).
Inference
Once your model is trained, it will be visible under the Trained AI model variation list. Click on generate.
In the generate page, you can select bigger model Flux.1 Dev and a smaller Flux.1 Schnell to use with your LoRA. I found Flux.1Dev give much better results. Use maximum steps, 50.
In the prompt field, DO NOT forget to use the trigger word and the gender.
Example-
a photo of SAQUIB man, on new york city wearing old fashion
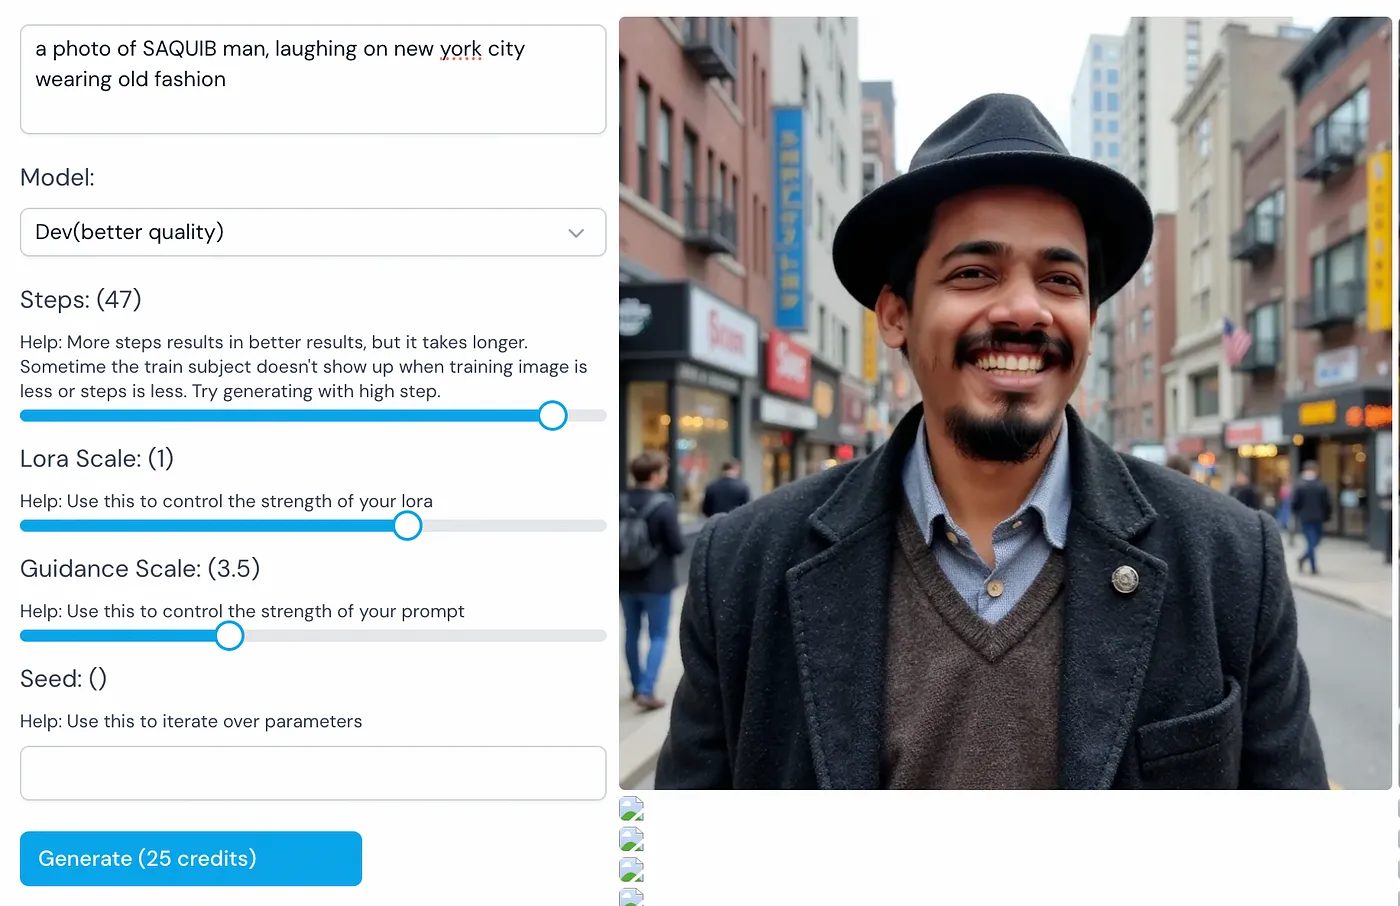
Thats all, enjoy. Put any doubts in the comment and I’ll try my best to answer them. Don’t be afraid to go technical on this.
Cheers!