Omini Kontext
Documentation & Installation Guide
Installation in ComfyUI
Step-by-step guide to install Omini Kontext in your ComfyUI environment
Prerequisites
Requirements
- • ComfyUI installed and running
- • Python 3.8 or higher
- • CUDA-compatible GPU (recommended)
Installation Steps
Clone the Repository
Navigate to your ComfyUI custom nodes directory and clone the Omini Kontext repository.
 cd ComfyUI/custom_nodes/
git clone https://github.com/example/omini-kontext.git Download Kontext Model and LoRA model
Omini kontext uses an editing model. For now it supports Flux Kontext model. Along with this, we need a compatible LoRA model, based on the task. Official LoRA models are available for some tasks. Visit this HuggingFace page for more details Omini Kontext LoRAs .
Download the kontext model in your ComfyUI's models folder. And LoRA model in your ComfyUI's loras folder.
Restart ComfyUI
Restart your ComfyUI instance to load the new custom nodes.
Verify Installation
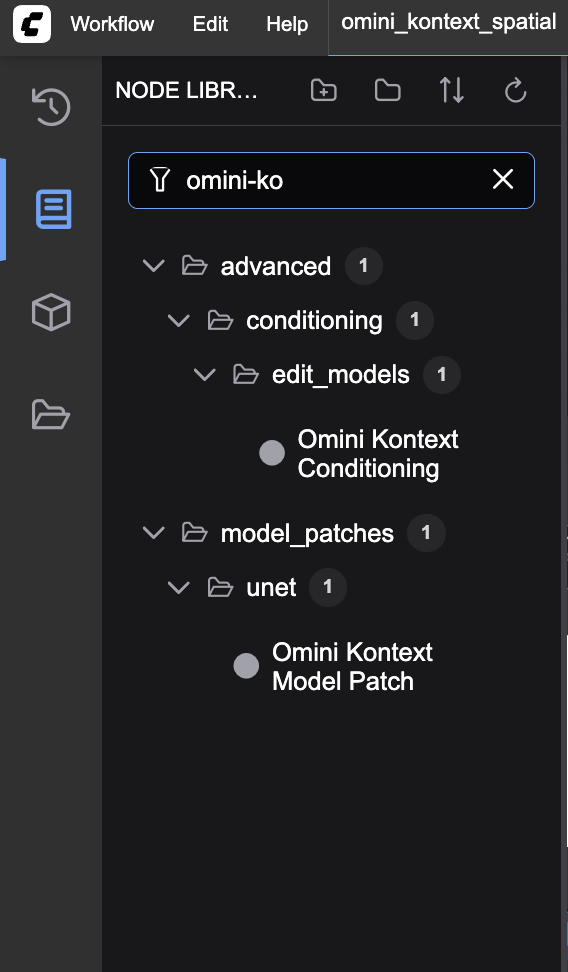
Installation Successful
If installation was successful, you should see Omini Kontext nodes available in your ComfyUI node browser under the "Omini Kontext" category.

Try loading one of the example workflows from the ComfyUI Inference Workflows section to test your installation.
