
Turn Family Photos into Printable Coloring Pages

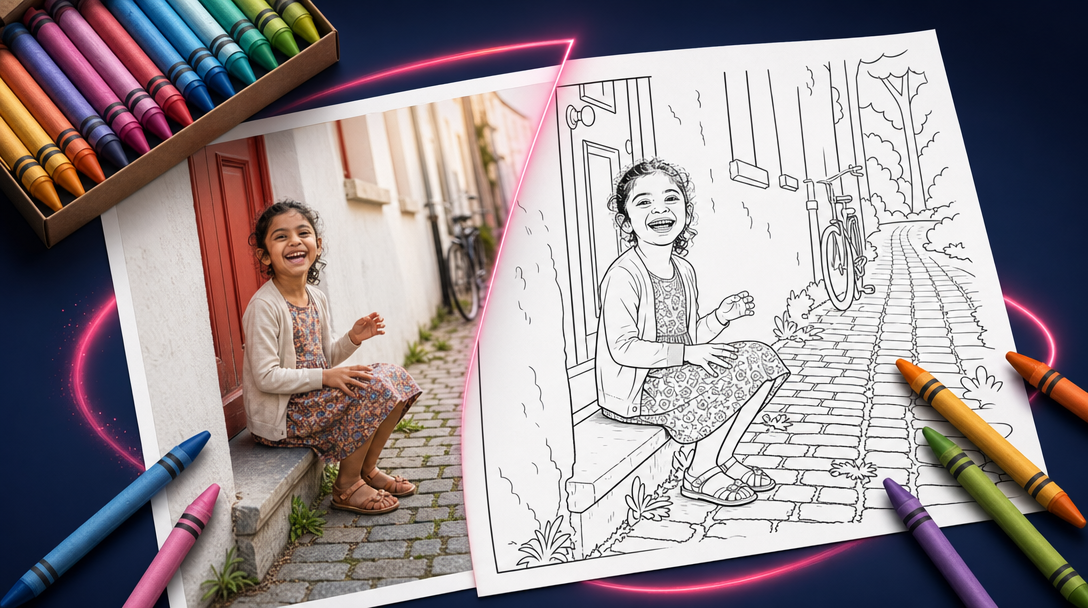
A family photo of a child beside the same scene as a bold black-and-white printable coloring page, with crayons around it
You took a great photo at the park. Kid mid-laugh, trees behind them. You want something they can color tonight, not just another scroll through the camera roll. Most "photo to sketch" buttons hand you muddy gray shading and hair-thin lines a five-year-old can't fill with a chunky crayon.
When I made a small storybook for my niece from her pottery-class photos, one of those shots would have made a perfect coloring page if we'd wanted something printable that same evening. That's the faster path this workflow is built for.
The Children's Sketchbook Generator on TheFluxTrain aims for bold outlines and large printable regions, and it simplifies the background instead of erasing it, so the scene still reads like a storybook page. It pairs nicely with the Personalized Storybook for Your Child guide. A coloring page is the quick win from one family photo. The storybook path is where you add a consistent character across many scenes.
Try it: Children's Sketchbook Generator · Explore: the template in Explore
Note- Plan on 10–20 minutes and a couple of iteration loops for your first page. Credits depend on model tiers and how many intermediate passes you enable.
Quick answer: Upload one clear family photo to the Children's Sketchbook Generator on TheFluxTrain. The graph describes your subject, expands a coloring-page brief with LLM Chat, and renders black-and-white line art into sinks with bold outlines and simplified backgrounds meant for crayons. Pick your favorite variant, export, and print.
Who is this workflow for?
Parents and gift-makers turning memories into printable activities. Party favors, rainy-day sheets, a grandparent gift as a PDF.
It also suits small publishers prototyping coloring-book pages before an illustrator polishes them, and studios batching outline drafts from approved reference photography.
You need one decent photo, a printer or a PDF workflow, and some patience for the first-pass tuning. Outline density changes with the age band you're making pages for.
What do you need before you start?
- One clear photo with a readable hero subject. Avoid motion blur, heavy backlight, and overlapping group faces.
- A TheFluxTrain account with credits for the image and LLM steps.
- A printer, or PDF export, for physical pages.
- Guardian consent when the subject is a minor. More on that below.
- Time: 10–20 minutes for a first successful page.
Leave aspect ratio and resolution at their defaults until your first pass works.
How does the Children's Sketchbook workflow turn a photo into a coloring page?
Most sketch filters apply one visual transform and call it done. This template runs a short production spine in Flow Studio instead. Each stage has a job, and you can see exactly where likeness turns into simplification.
One sentence: describe the photo, let LLM Chat expand the coloring-page rules, then render black-and-white line art into sinks.
- Source photograph. The input image node anchors likeness. Swap the demo plate for your photo.
- Optional color normalization. An early image pass can calm a noisy background before the line work starts.
- Describe subject. An LLM captures pose, expression, and scene cues faithfully.
- Coloring-page brief. LLM Chat turns that analysis into thick outlines, no grayscale fills, large enclosed regions, and simplified background cues.
- Line-art render. The final image-to-image step applies the instructions with references and drops outputs into sinks for side-by-side comparison.
Node labels shift a little when the template updates. The landing page stays authoritative.
How do you run the workflow step by step in Flow Studio?
1. Open the workflow
Go to the Children's Sketchbook Generator or clone it from Explore. Scan the canvas: input image on the left, describe and chat in the middle, terminal generation and sinks on the right.
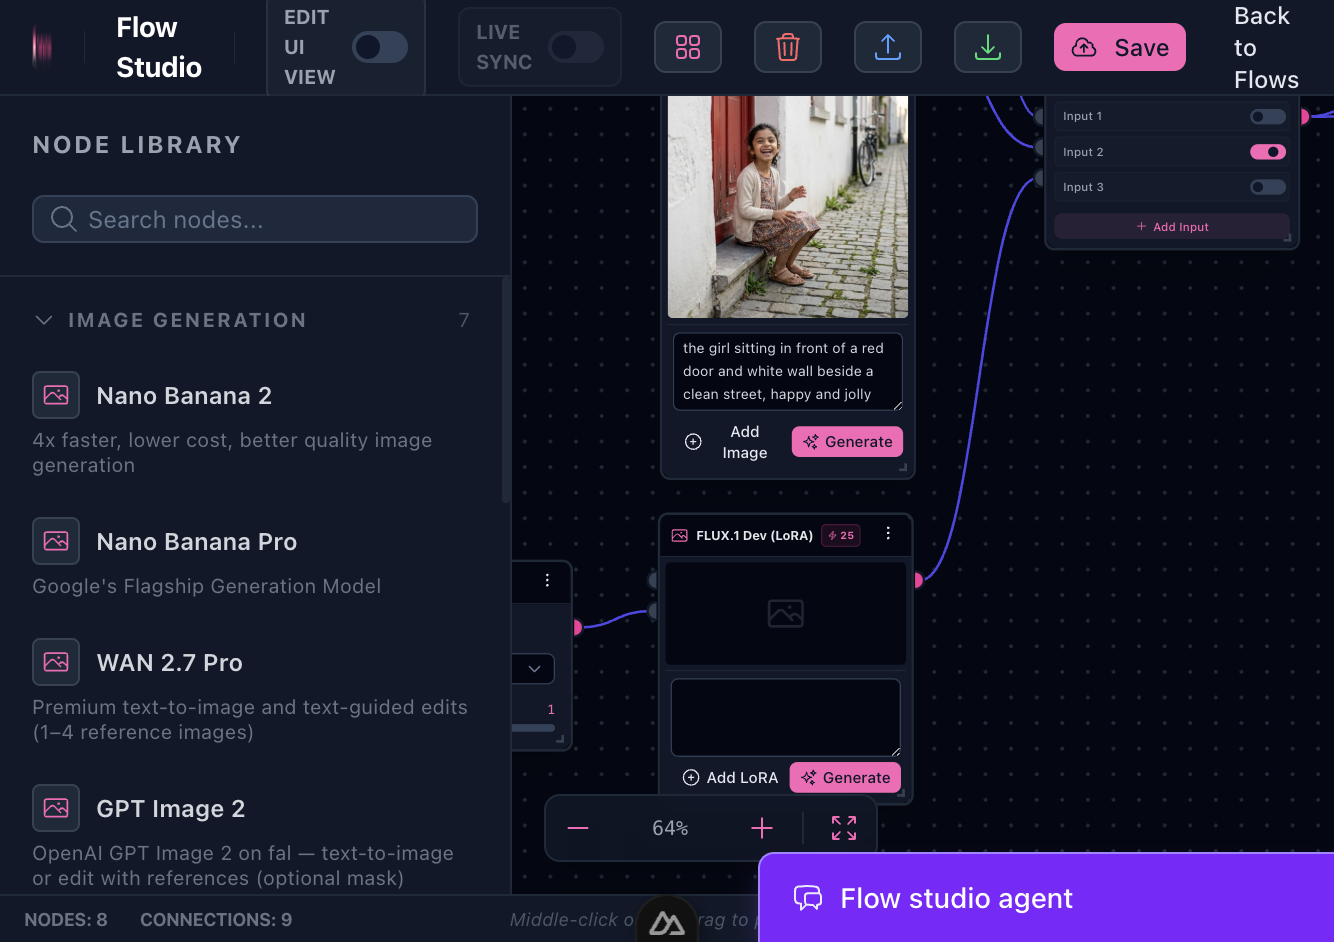
The template loads with nodes already connected. You mostly swap the source photo and tune one text block. The wiring stays put.
2. Drop your source photo
Replace the demo on the Source photo node. Set the aspect ratio to match your paper before you lock the composition.
Good source: a single child or pet, face readable, moderate daylight, background present but not chaotic.
Harder source: motion-blur action shots, classroom group photos, or heavy backlight.
3. Run Describe subject
Run Describe subject. If the output misses something that matters, a stuffed animal, a distinctive hat, add it to Analysis & style notes per the README.
4. Tune the coloring spec
Edit or merge the describe output into Analysis & style notes when you want manual control:
Example — toddler-friendly emphasis:
Large enclosed shapes for ages 3–5.
Thick uniform outlines; no thin hair-strand noise.
Background: simplified trees and grass, not erased.
No gray shading—pure black lines on white.
Preserve smile and hat; simplify jacket folds into big regions.
Leave printable margins for home binding.
Run LLM Chat whenever your description changes in a way that matters.
5. Generate outlines and inspect sinks
Run the terminal image node and compare the sinks. One might suit toddlers with heavier strokes. Another keeps more facial detail for older kids.
Iteration tip: too much hair-strand noise? Push the analysis toward large enclosed shapes, rerun chat, then regenerate. One targeted edit beats a pile of blind reruns.
6. Export and print
Download the sink you like. Print it directly, or gather a few PNGs in Canva for a small book. For a multi-scene hero story, carry the same photo into the personalized storybook workflow.
What does a good printable coloring page look like?
Here are proof generations from the bundled template, from source through color reference to two sink variants.
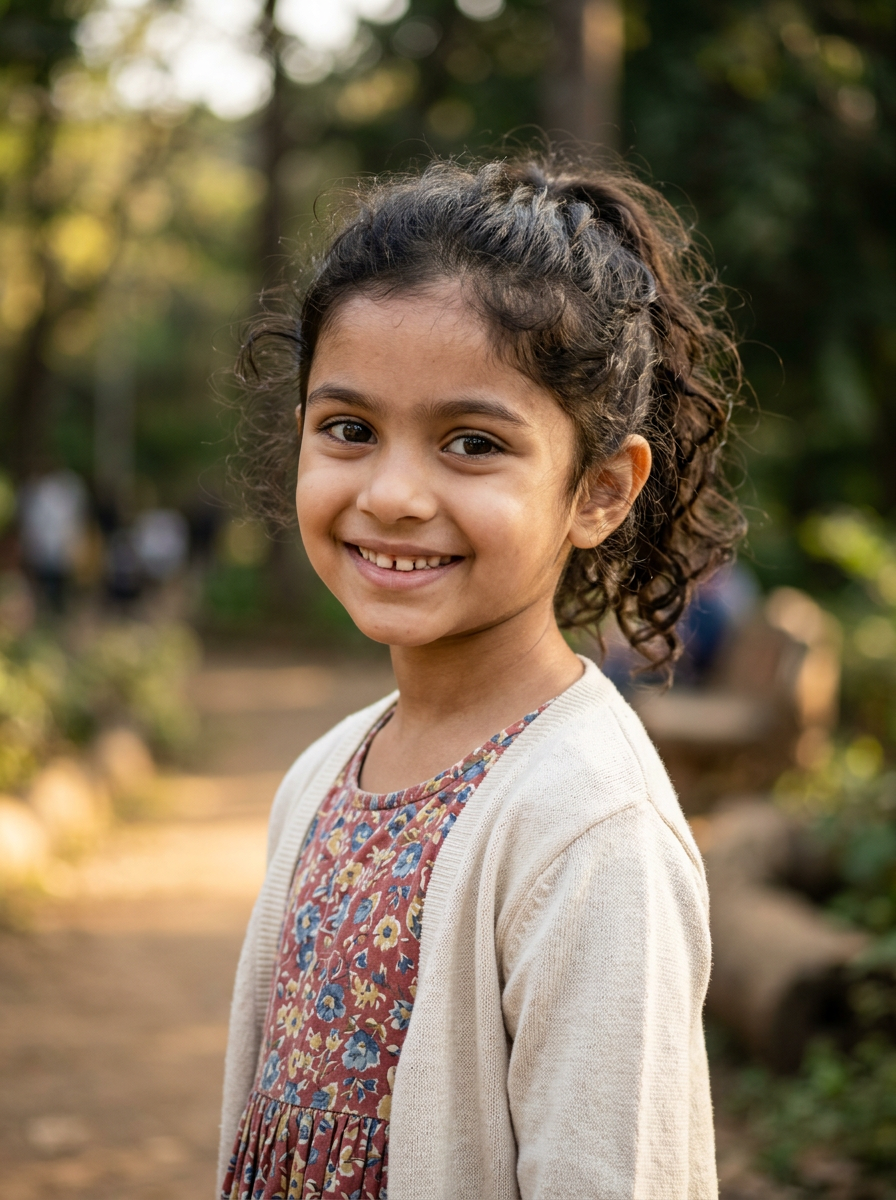
Source photo: one clear subject with a readable pose. This anchors likeness for everything downstream.
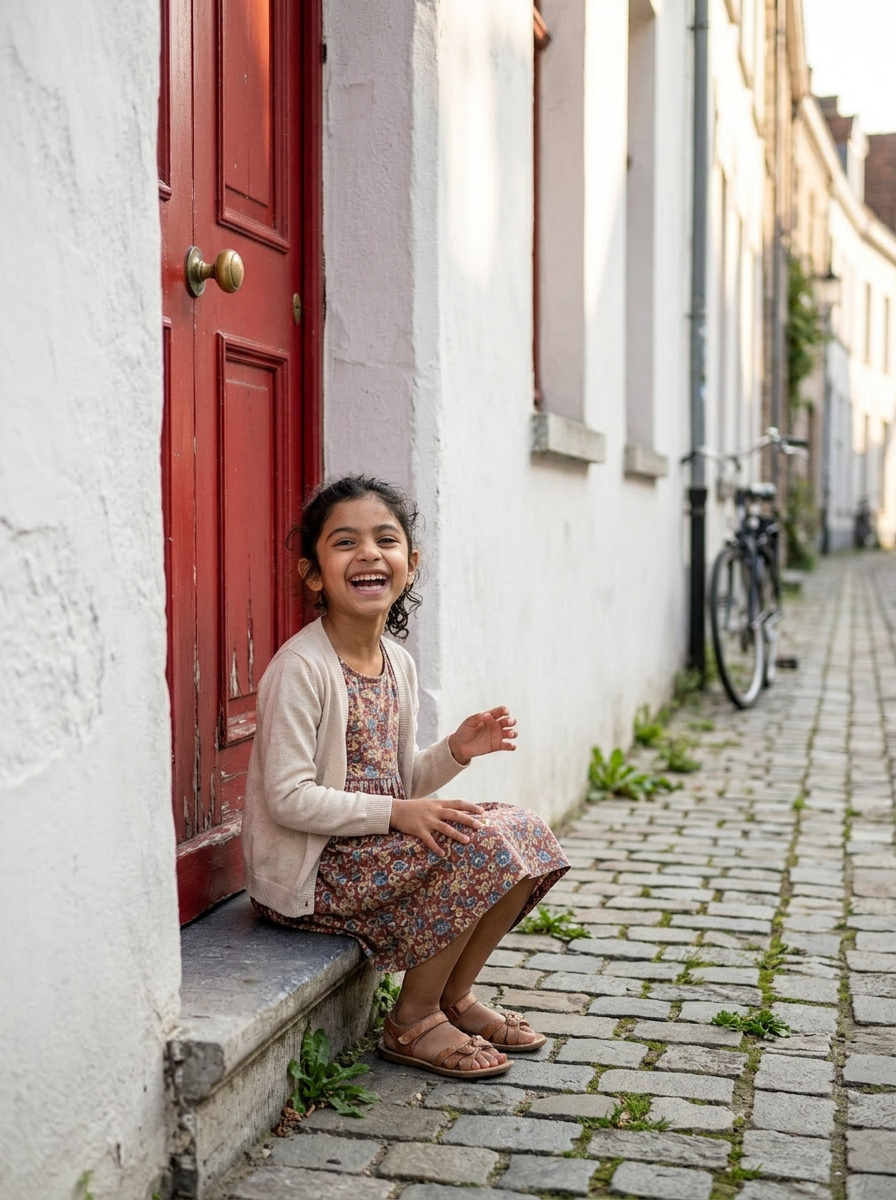
Color reference: it normalizes the lighting before line work when the original background was noisy.
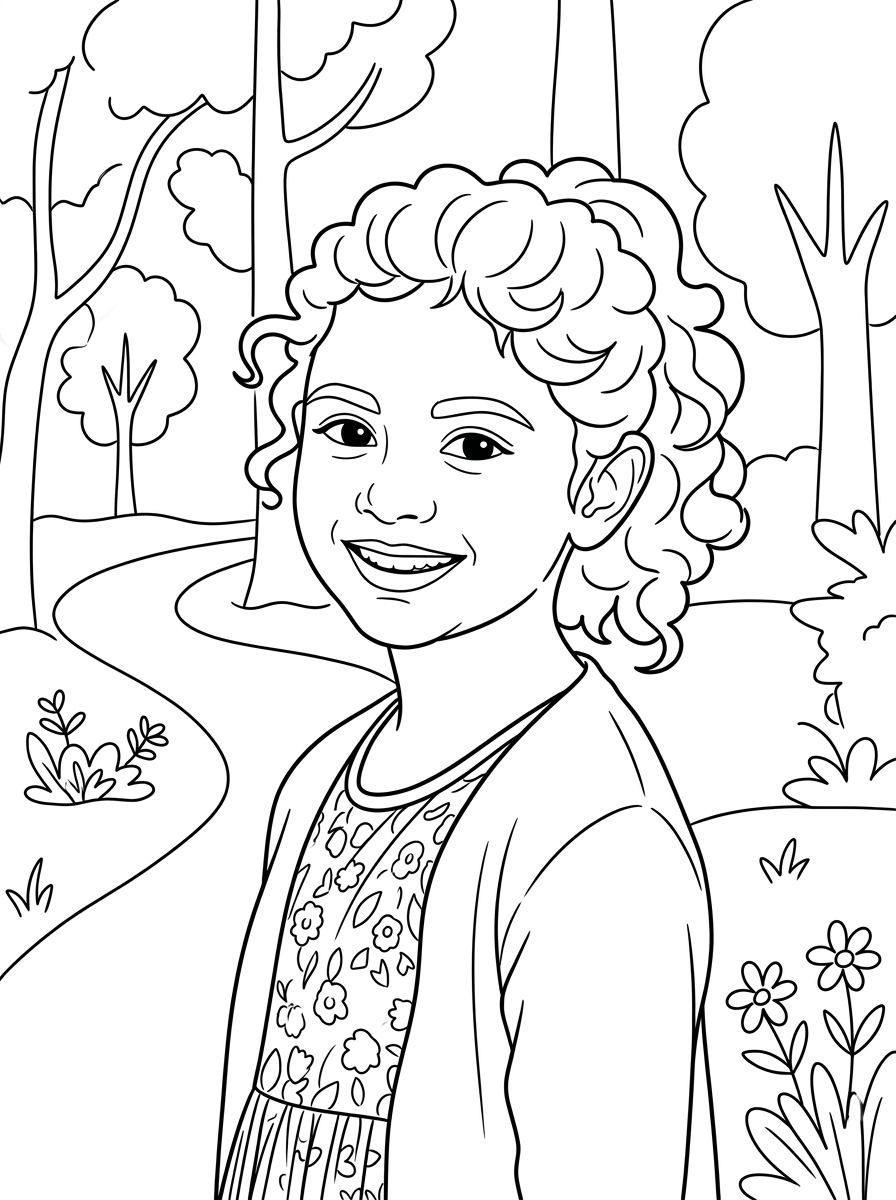
Sink A: thicker regions and a simplified background. Often the best pick for younger kids.
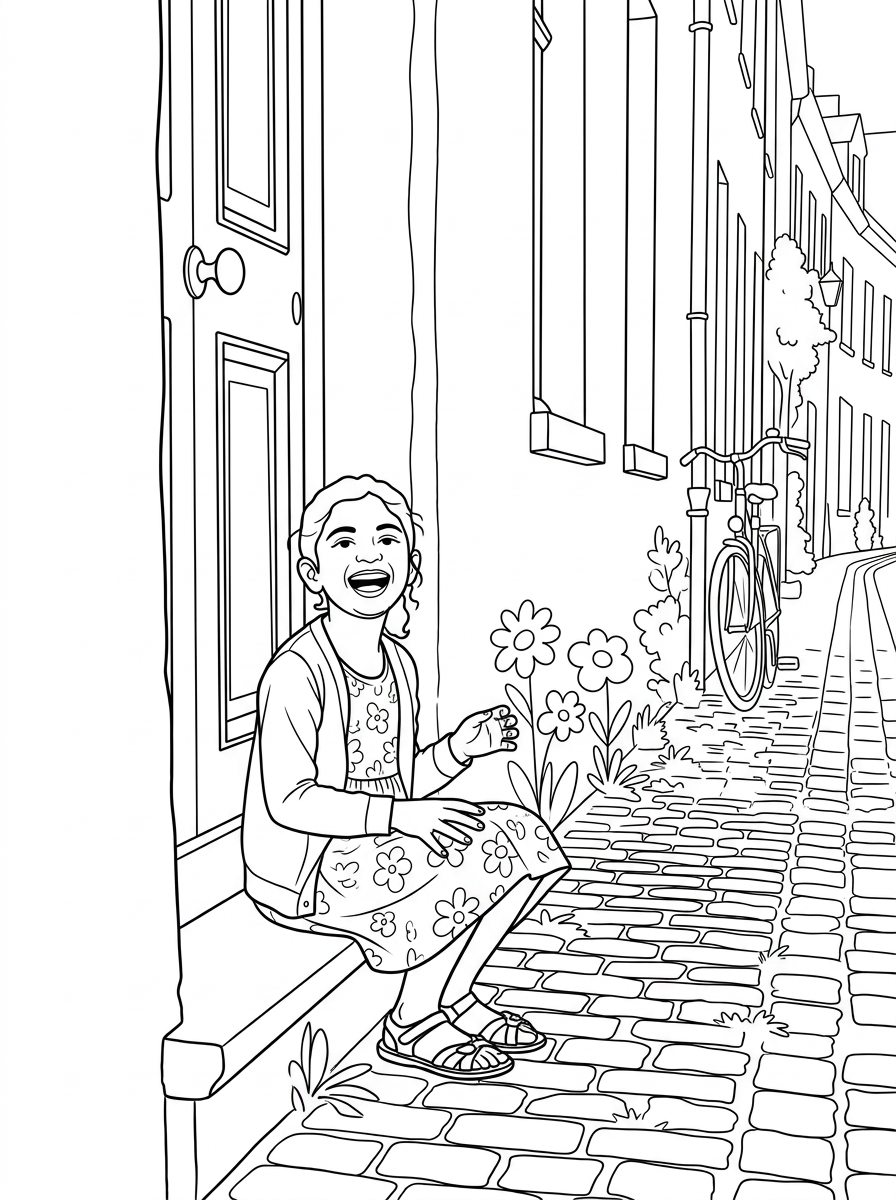
Sink B: a different simplification tradeoff. Compare them before you commit to a print run.
Before you print, check for closed shapes big enough for crayons, outlines dark enough for a home printer, and enough background context that the page still tells a little story.
Why does this work better than generic sketch filters?
Generic sketch filters chase thin gray shading tuned for adult artists. The LLM brief in this workflow pushes thick outlines and large enclosed regions that toddlers can actually fill.
Simplified trees, a couch, or playground equipment stay in the frame instead of turning into floating heads on a white void, so the page still reads as a scene.
You can tweak the describe or the chat step when something drifts. No black-box resampling.
Multiple sinks let you audition variants when the outlines come out too busy for toddlers or too sparse for older kids. Save a spec block you like and duplicate the tab for the next photo shoot.
How do you get prints that look good on paper?
- Aspect ratio first. Match letter, A4, or square on the node before you lock composition. Cropping after generation wastes the framing work.
- Margins in the brief. Ask the LLM pass to preserve printable margins if you'll punch holes or spiral-bind.
- Line weight vs age. Toddlers need heavier strokes and fewer interior facial lines. Older kids tolerate finer detail. Revise the brief one notch at a time.
- Test sheet. One draft print on copy paper reveals faint lines or a busy background before you commit to a 20-page bind run.
- Commercial print. We don't guarantee ICC accuracy from PNG exports. Preview locally and follow your vendor's line-art specs.
- Branded merchandise. Photos with logos, licensed characters, or third-party art may not be cleared for commercial coloring books. Personal gifts and retail publishing are different bars.
What are the limits, and what about child photos and consent?
Preserving facial detail can fight with toddler-friendly simplification. Expect some tuning.
Busy backgrounds may still overwhelm the outlines. A cleaner source beats heroic prompting every time.
Fingers merge, and overlapping siblings get ambiguous. Those are hard cases for any automated outline tool.
Branded clothing, signage, or another artist's work in the frame isn't automatically cleared for commercial sale.
Child safety and consent:
- Guardian consent: only depict minors with the parent or guardian's permission. Don't upload classroom photos of other people's children without explicit consent.
- Public sharing: avoid posting identifiable images of children on open social feeds unless it's intentional and permitted.
- Gift vs publish: a page for grandparents is not the same as selling a coloring book or posting templates publicly. When in doubt, keep the outputs in the family circle.
These are honest limits, not reasons to skip the workflow for private, consented family use.
How do you try it on TheFluxTrain?
Fastest path: open the Children's Sketchbook Generator, drop in your Source photo, run Describe subject, run LLM Chat, run the terminal image node, pick a sink, and export.
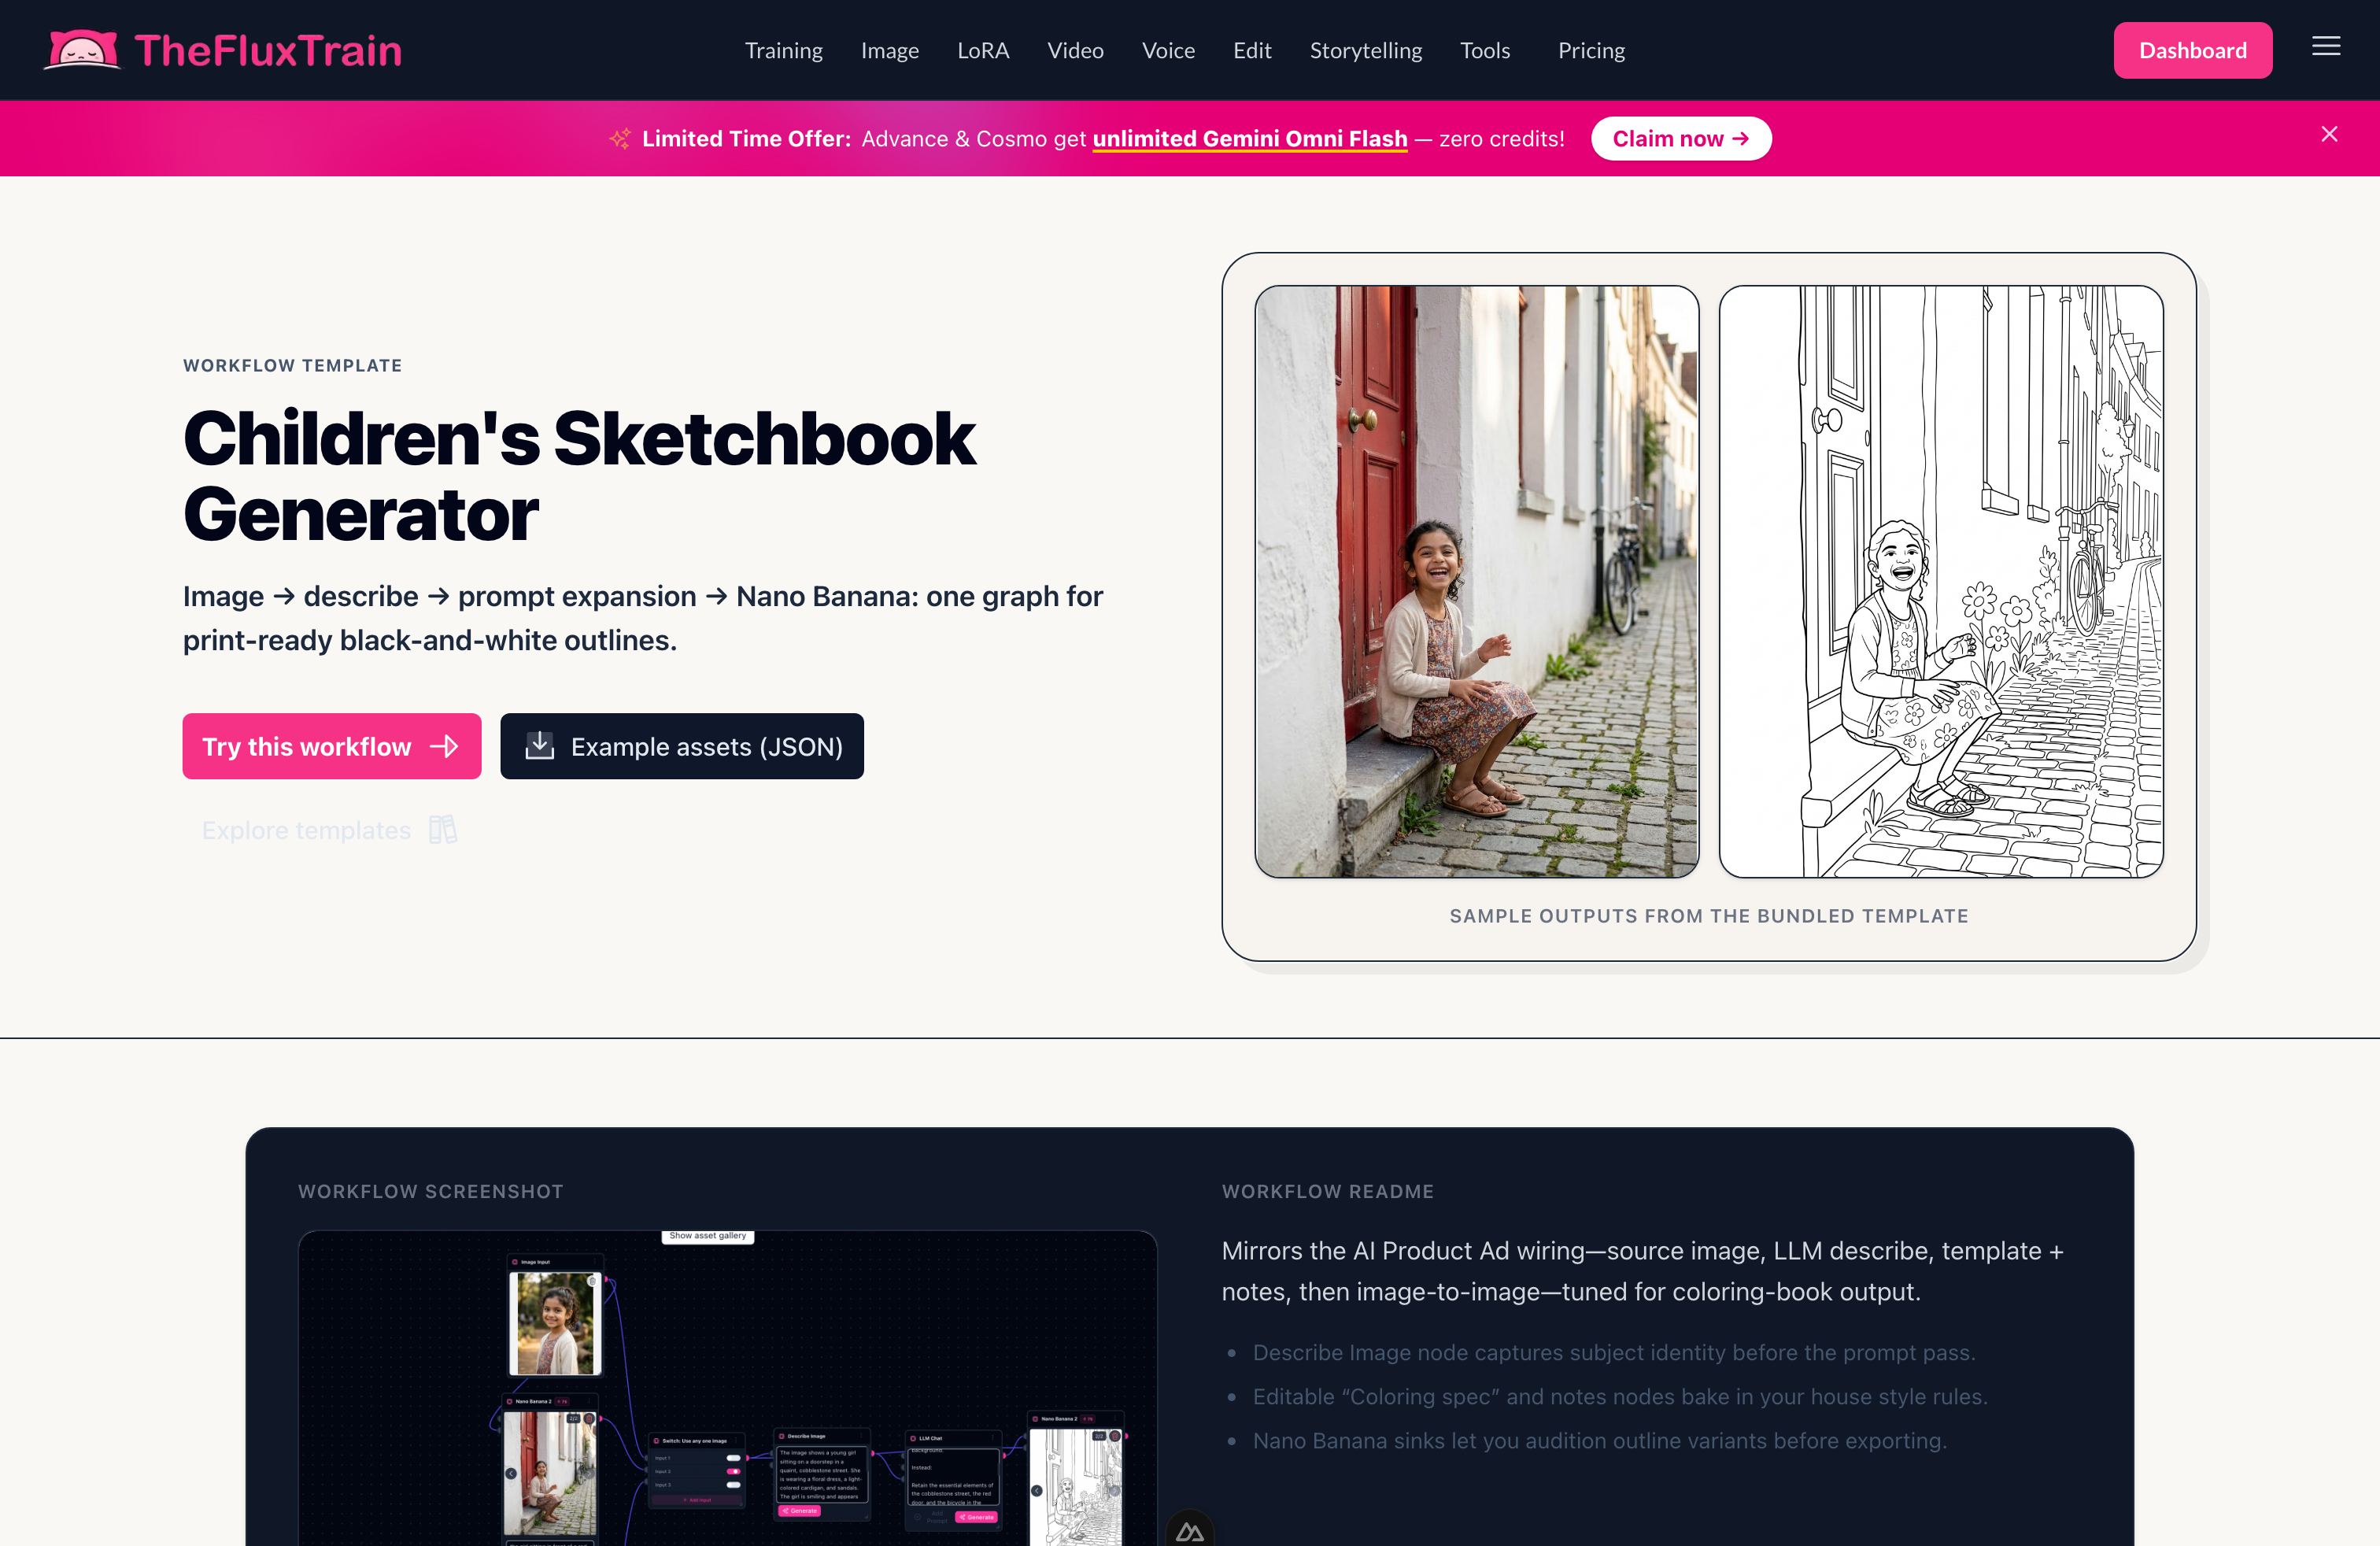
The landing page shows a before/after and drops you straight into the template with one click. Sample outputs on the right show the source photo beside the coloring-page result.
Template path: clone it from Explore and save your tuned spec for the next shoot.
Series context: this is the one-page printable win. For the full six-page hero book, the personalized storybook pipeline covers story writing, character training, scenes, and the Canva PDF.
Frequently asked questions
How do you turn a family photo into a printable coloring page?
Upload a clear photo to the Children's Sketchbook Generator, run Describe subject, let LLM Chat expand a coloring-page brief, generate line art into sinks, then export and print the variant with bold outlines and large fill regions.
What kind of photo works best?
One readable hero subject (child, pet, or portrait) with a background that isn't too busy. Avoid motion blur, harsh backlight, and overlapping group faces.
Is this better than a phone sketch filter?
Filters chase thin gray shading. This workflow bakes in coloring-book rules instead: thick outlines, no grayscale fills, simplified backgrounds, so the regions are crayon-friendly.
Can I print at home?
Yes. Export a PNG or assemble a PDF, print on letter or A4, and run one test sheet before a big bind run.
Is it safe to upload my child's photo?
Only with guardian consent and the rights to use the image. Keep private copies private, and don't share identifiable classroom photos publicly without permission.
How long does a first page take?
Usually 10–20 minutes with one or two iteration loops. Credits depend on resolution and intermediate passes.
Can I use this for pets or adults?
Yes. Tune the brief for fur texture or line weight. The describe step handles any clear portrait subject.
How does this connect to a full storybook?
A coloring page is a one-photo printable win. For multi-scene stories, follow the personalized storybook guide.
Next step
Print a test sheet tonight. Open the workflow or clone it from Explore.
The first pass rarely nails the line weight for every age. Iterate on the coloring brief, not your whole photo library.