
How to Create Your First AI Short Film with Claude and TheFluxTrain

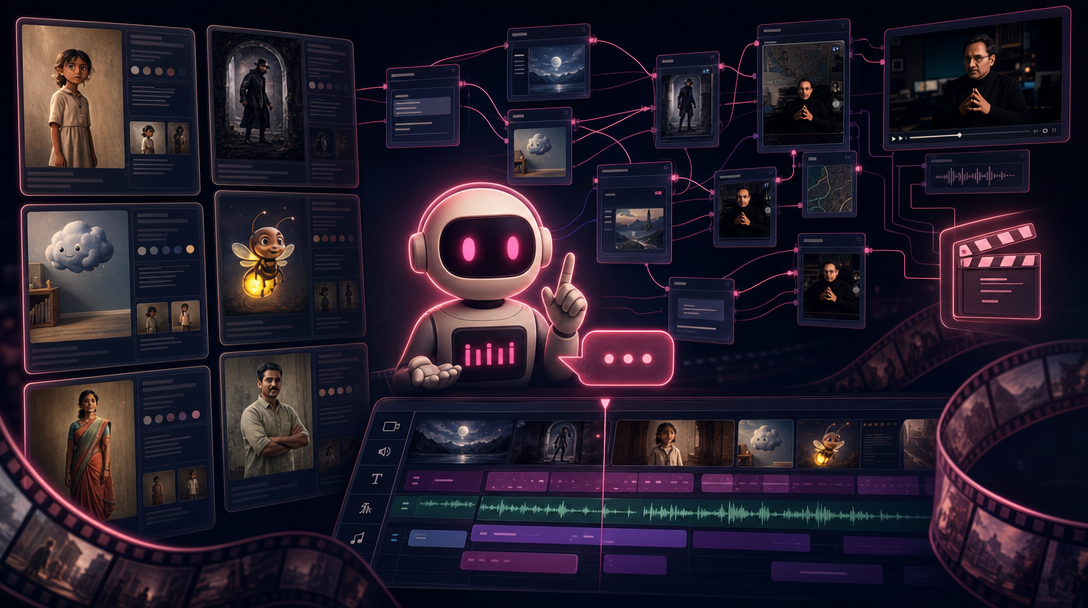
Stylized collage of character bibles, Flow Studio node graph, and video editor timeline for an AI short film tutorial
A short film is not one clip. It is who is on screen, what they want, and how each moment connects to the next. This tutorial walks you through your first complete film—from a simple idea to a finished edit—using Claude (an AI you chat with) and TheFluxTrain (where you make and edit the video). No special skills required. You need a clear idea, patience to redo a few shots, and about an hour.
New to the idea? Read What Is Vibe Video? first. Prefer working in Cursor with a project folder? See the Cursor version of this tutorial.
Quick answer: Tell Claude your story, save a character in TheFluxTrain, make storyboard drawings, turn them into video clips in Flow Studio, then assemble everything in the video editor. Expect to use some credits and redo a few shots before you are happy.
Note: Your first export is a draft to see if the story works—not a final polished film. That is how real filmmaking works too.
What will you build in your first AI short film?
A 30–60 second story with one main character, two or three locations, and a simple arc: something happens, something goes wrong, something resolves.
idea → script → storyboard drawings → character profile → make each scene → edit → finished video
Your first version will not win an award—and that is fine. The goal is to finish something you can watch start to finish. You can go bigger on film two.
What do you need before you start?
ChatGPT (or similar) — To brainstorm your story and how it should feel before you open TheFluxTrain.
A one-sentence pitch — What is the film about? How long (30 or 60 seconds)? What should it look like? Example: "quiet sci-fi, soft daylight, calm pacing."
Claude — Use it in your browser, desktop app, or Claude Code. You will copy its outputs into TheFluxTrain as you go.
A TheFluxTrain account — With enough credits for several drawings and video clips. Your characters and workflows save for next time.
Video shape — Pick one and stick with it: wide (16:9) like YouTube, or tall (9:16) like TikTok and Instagram Reels.
About an hour — Of your active time, not counting waiting while clips generate.
How do Claude and TheFluxTrain work together?
Simple split:
Claude helps you think—turn your idea into scenes, list each shot, and spot problems ("the jacket changed color—let us fix that before remaking scene two").
TheFluxTrain helps you make:
- Characters — Save reference pictures so your lead looks the same in every scene.
- Flow Studio — Run the same steps on each scene (drawing → video) in a repeatable way.
- Video editor — Put clips in order, trim pauses, add music. Watch the full video before you export.
You go back and forth: Claude plans and reviews; TheFluxTrain generates and stores everything.
Step 1: Start with a small, clear idea
Open ChatGPT first. Jot down genre, mood, and one image stuck in your head. Ask it to help you describe how the film should look and feel.
Then open Claude and set limits upfront—this keeps the project manageable:
I want to make a 45-second AI short film. One character, three scenes, gentle sci-fi, no dialogue—only visuals. Here is my mood and style notes from ChatGPT: paste. Help me write a one-sentence summary and three short scene descriptions. Keep locations simple—I should be able to count them on one hand.
Claude should give you:
- A logline — one sentence that sums up the whole story.
- Three scenes — where it happens, what the character does, what the viewer should feel.
If Claude suggests five scenes or four characters, ask it to simplify.
Example logline: A delivery robot in a flooded city finds a child's drawing on a package and goes out of its way to return it.
Save Claude's scene descriptions in a notes file. You will use the exact wording later.
Step 2: Write a short script
Ask Claude to turn those scenes into a simple script: scene titles, what we see happen on screen, and roughly how long each scene lasts ("Scene 1 about 12 seconds").
A good script:
- Says what we see ("robot wades through knee-deep water"), not what the character is thinking.
- Names clothes and important objects once ("yellow rain jacket," "cardboard box") so you can reuse those exact words later.
When a generated clip looks wrong, compare it to this script—not your memory of an old chat.
Step 3: Create your character in TheFluxTrain
In TheFluxTrain, go to Characters and set up your main character:
- Write a plain description—age, build, clothes, anything distinctive.
- Generate a preview picture (a portrait).
- Generate a character sheet—reference pictures from different angles.
Copy clothing descriptions straight from your script into the character description. If you rephrase them, the face and outfit may drift in later scenes.
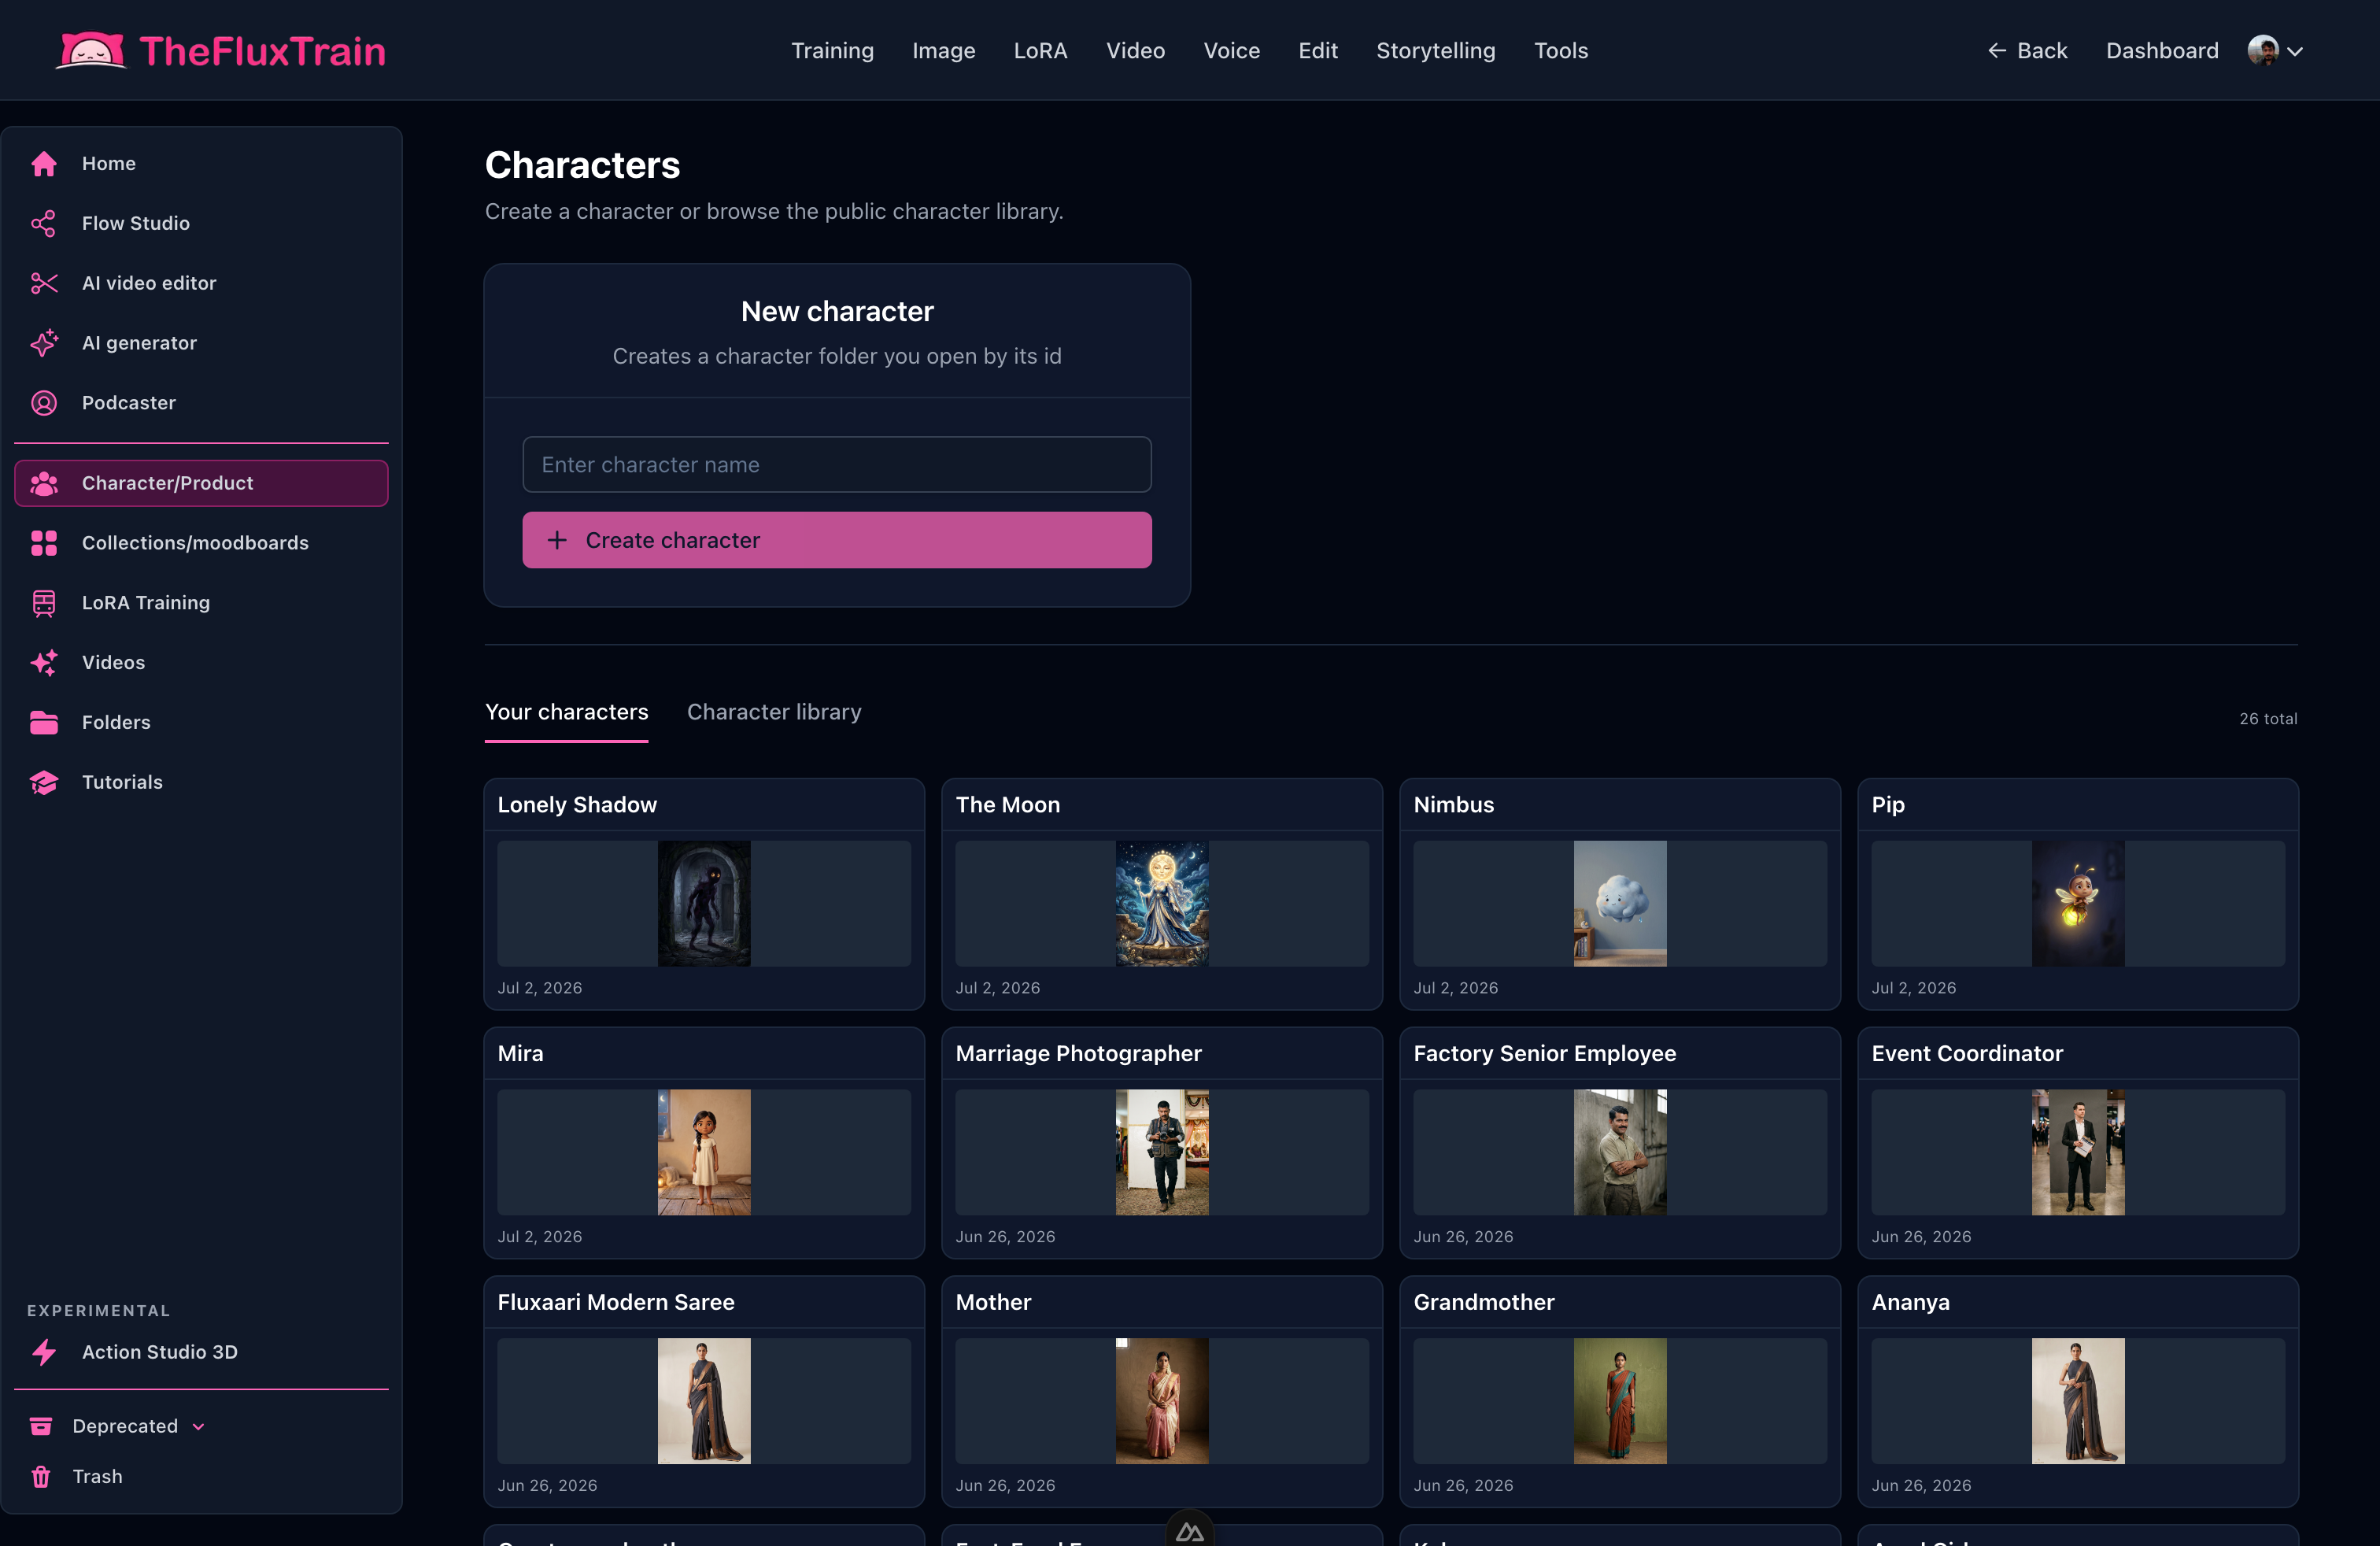
One main character with a portrait and reference sheet is enough for your first film.
Do this before storyboard drawings. If you add a second character with meaningful screen time, repeat the same steps.
Step 4: Make storyboard drawings
Go back to Claude with your script. Ask for a shot list—every camera moment in order:
For each scene, list 2–3 shots. For each shot tell me: how long, wide or close-up, what happens, and a description I can use to generate a storyboard drawing—including the character's clothes and the location.
In TheFluxTrain, generate those drawings with GPT Image 2. You can use a template from Explore or a simple workflow that takes text + your character reference.
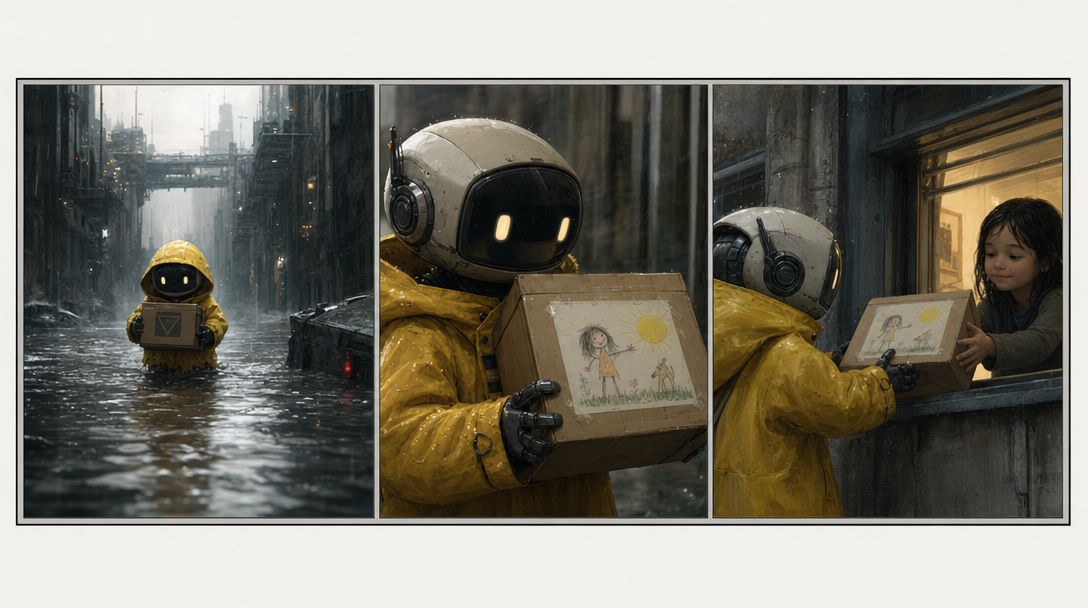
Flip through the drawings like a comic. If the story does not make sense without words, fix the shot list before you make video.
Only move to video when you are happy with the drawings.
Step 5: Turn drawings into video clips
Open Flow Studio in TheFluxTrain. Start from a film template or a workflow you saved before. For each shot you need: the storyboard drawing, your character reference, a short description, and a step that turns the drawing into a moving clip (we use Seedance 2, about 4–6 seconds per shot).
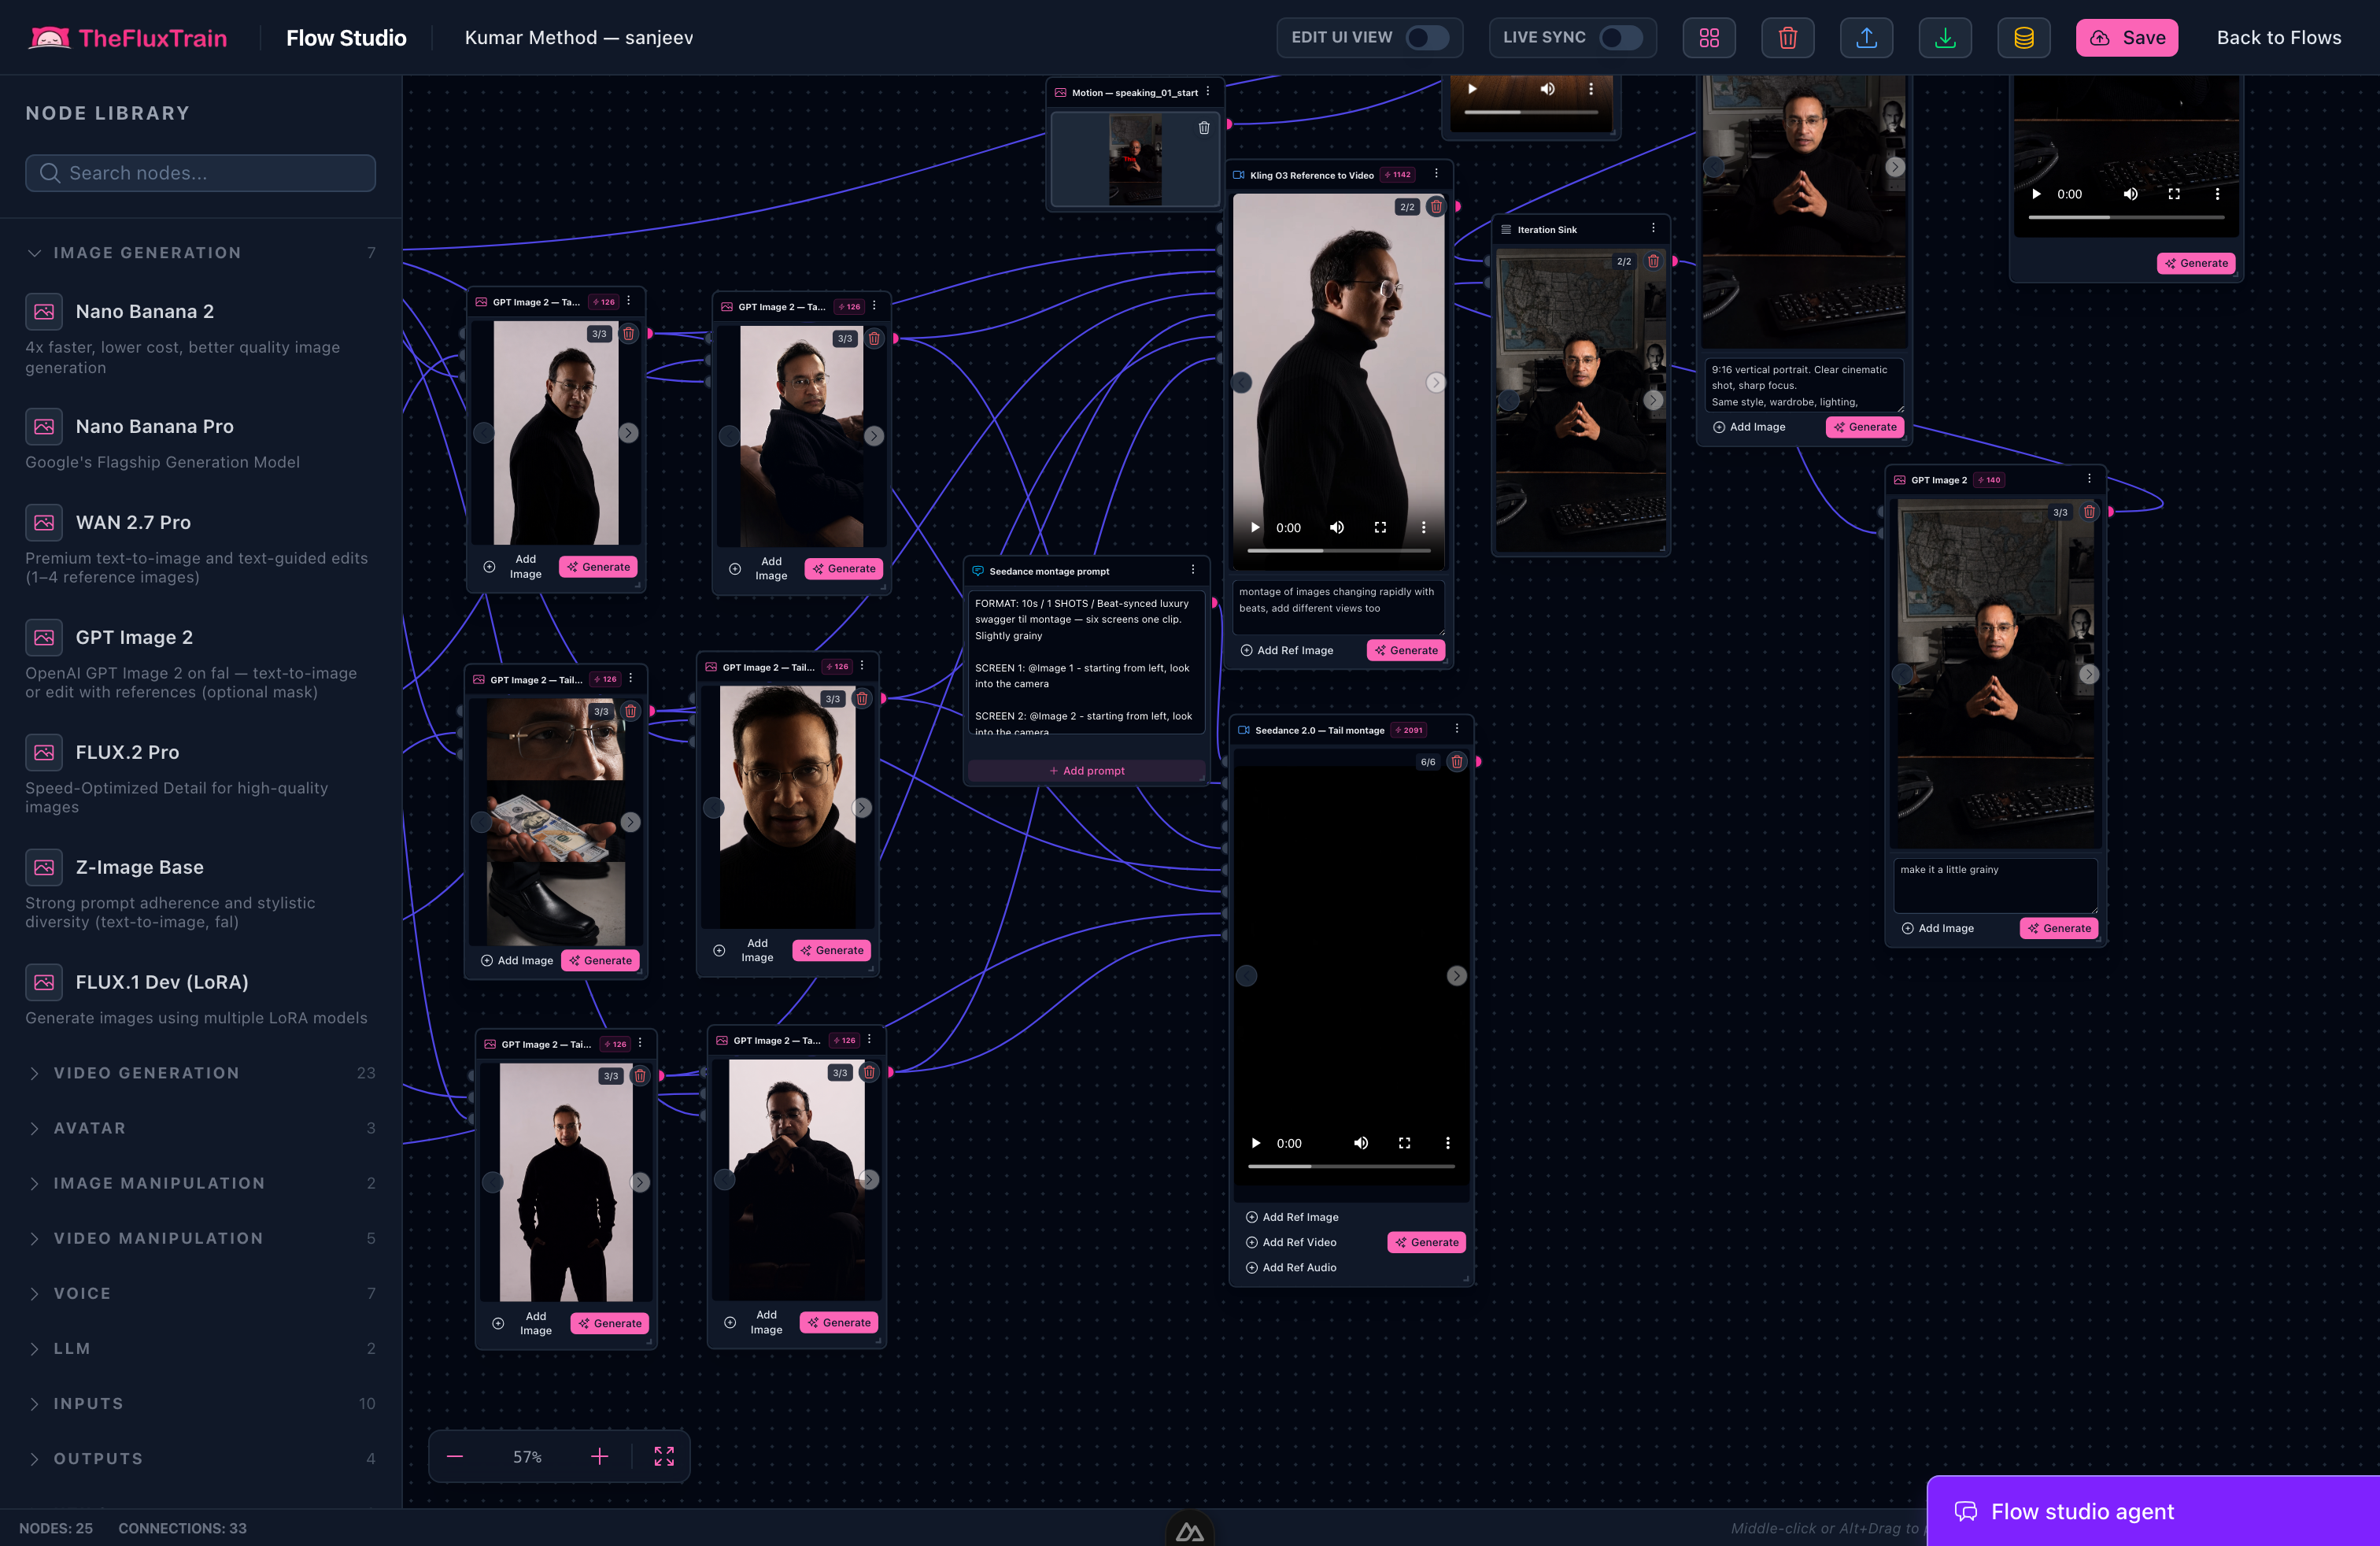
Work one scene at a time—drawing, character reference, then video.
For each shot, in order:
- Load the storyboard drawing.
- Attach your saved character.
- Paste the shot description from Claude.
- Run it and wait for it to finish before starting the next shot.
After each scene, watch the clips back-to-back. If something fails, tell Claude what went wrong and attach the bad clip:
Scene 2, shot 1: the logo on the robot's chest changed. Here is the storyboard and the bad clip. Rewrite the description to lock the logo and yellow jacket.
On a first film, expect to redo each shot two to four times. That is normal.
Step 6: Edit into a finished film
Open the video editor and create a new project. Put your clips in story order, trim awkward pauses at the start and end of each clip, add quiet background music if you want, and export.
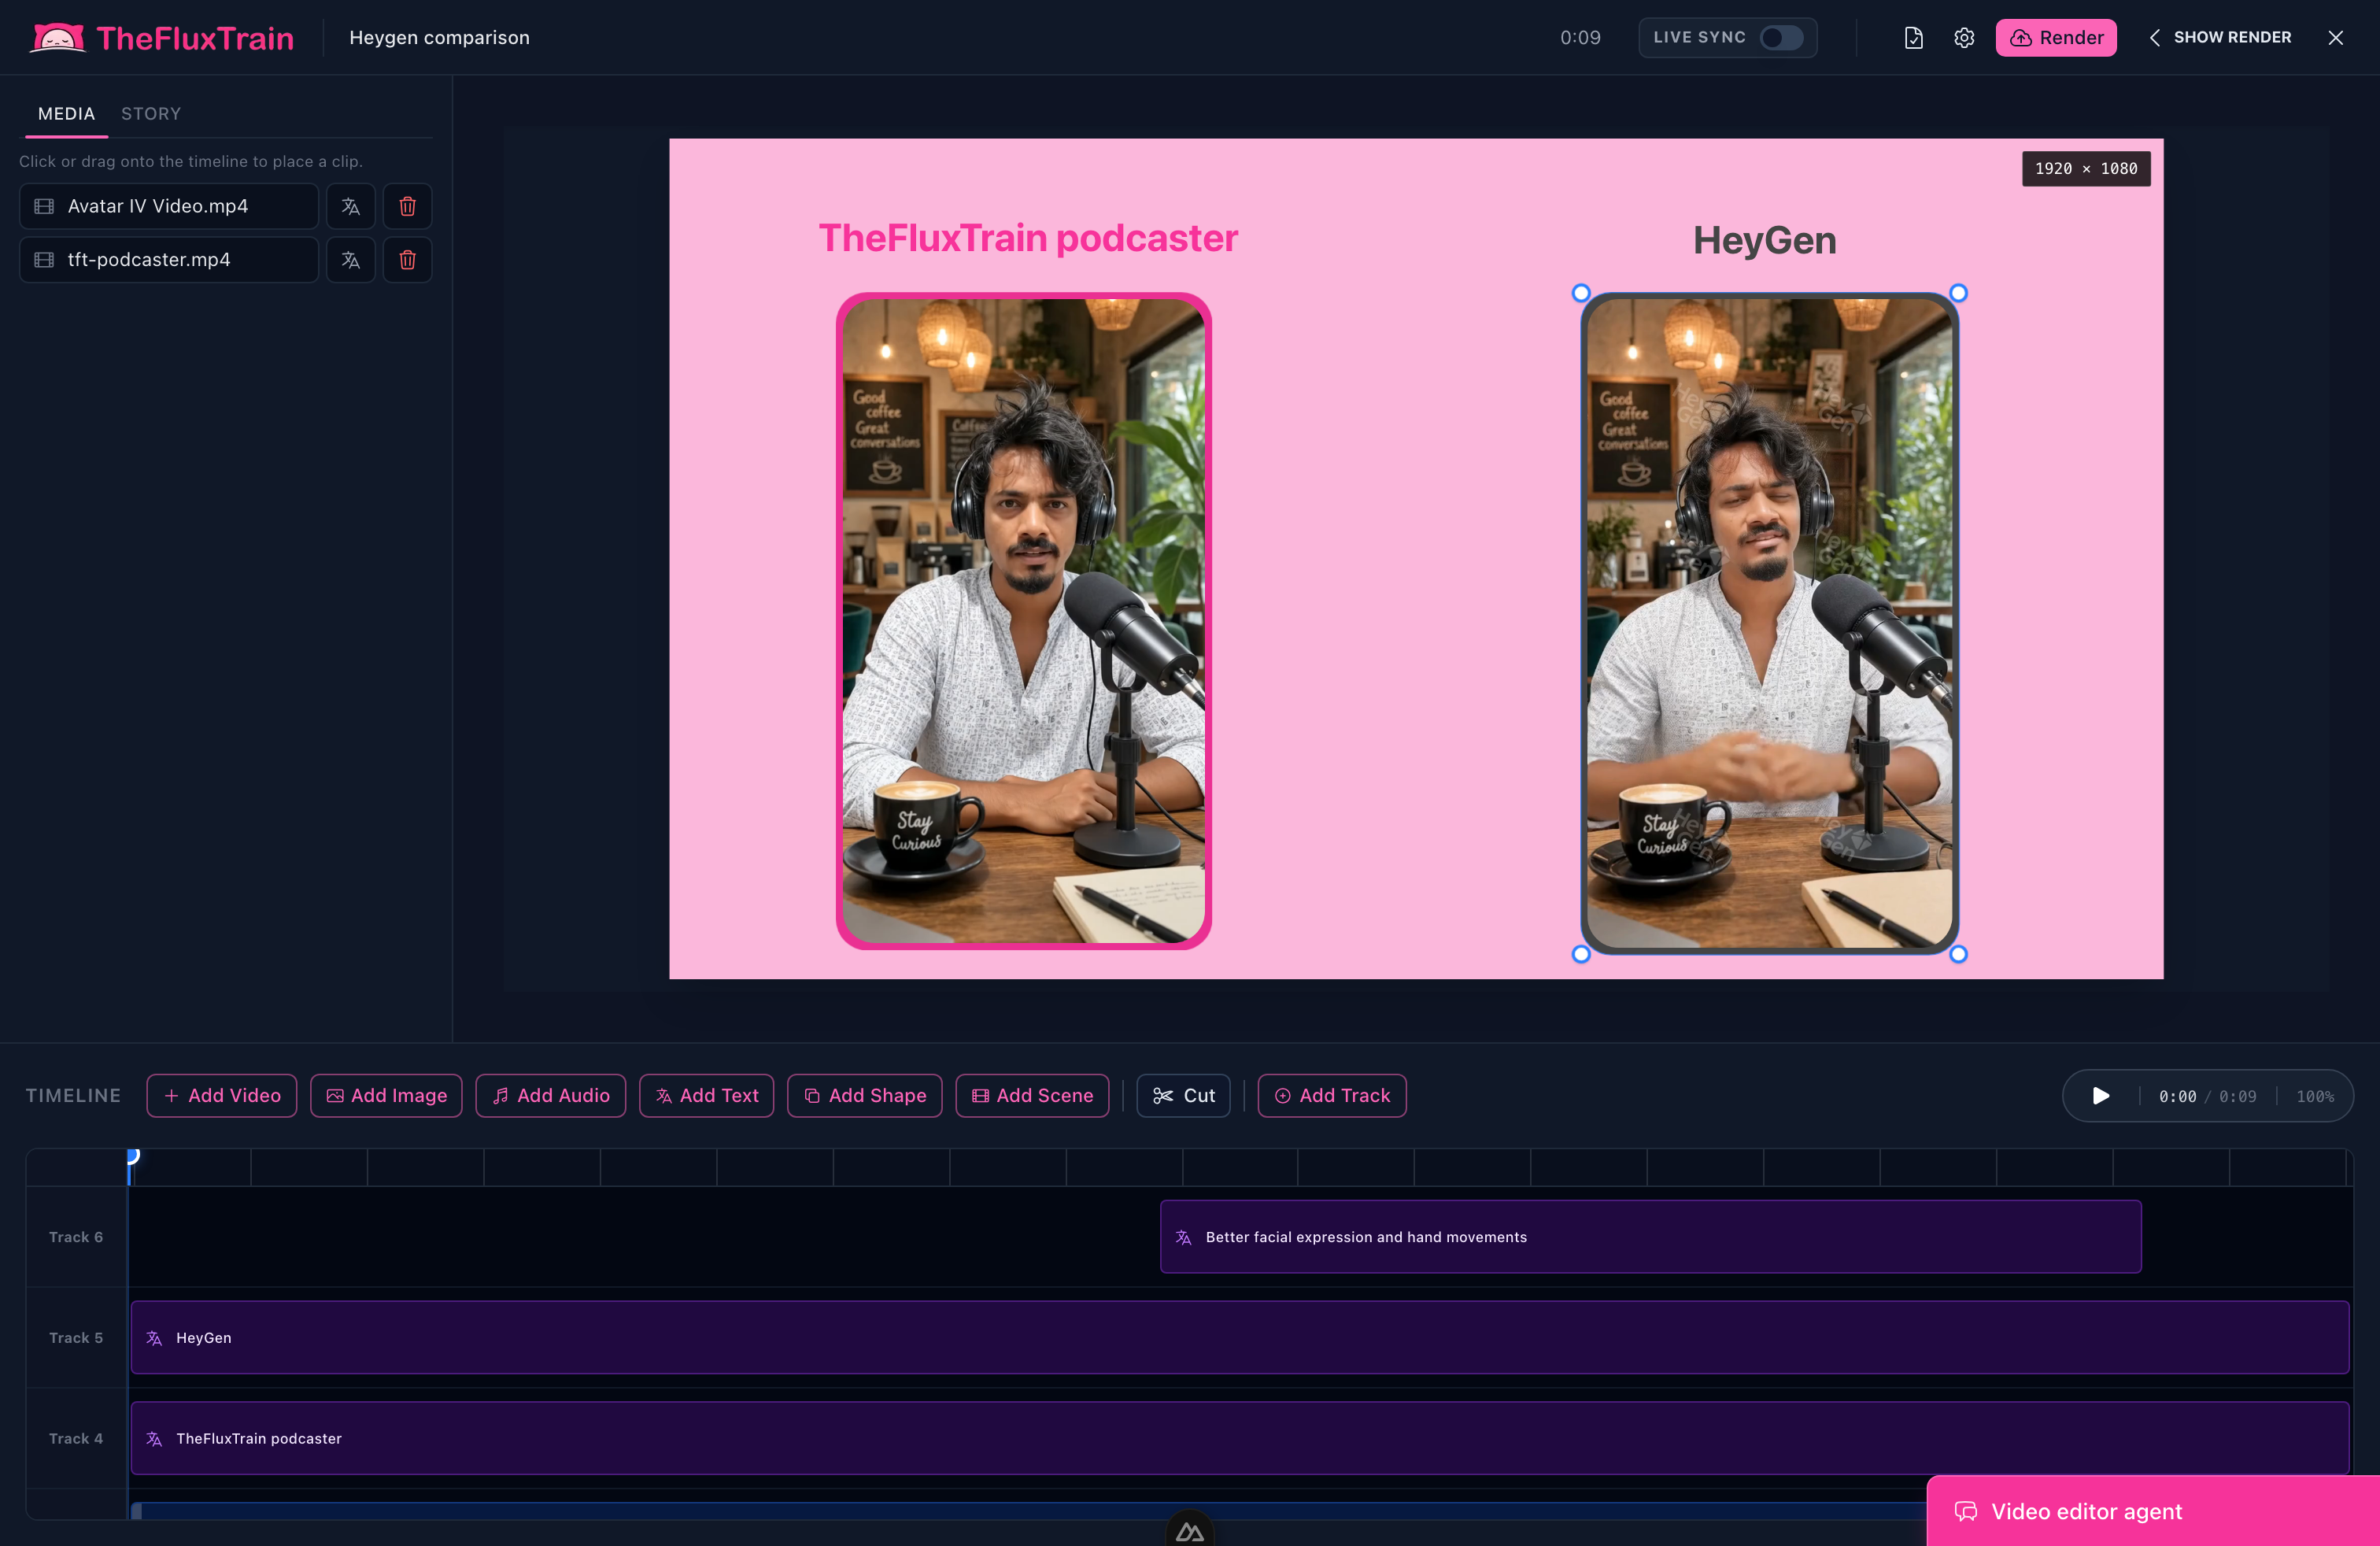
Watch the full video here—once without sound, once with—before you share it.
This is where pacing lives. A 45-second script can become a 60-second film if every clip runs too long—or a tight 35 if you cut sharply.
What should you watch out for?
- Get clear on mood and look before you generate. Drawings are cheap; video is not.
- Fix faces, clothes, and framing in storyboard drawings—not after you paid for video.
- If you change an outfit, update the character in TheFluxTrain—do not rely on an old chat message.
- Treat Claude's first draft as a suggestion. Push back before you spend credits.
- Watch your exported video like an audience member. A vague plan gives you a vague film.
The process welcomes do-overs. It does not forgive skipping planning.
What does a good Claude conversation look like?
You (planning shots): Break Scene 2 into three shots with descriptions for drawings. Include the yellow jacket in every one.
Claude: Shot 2A: Wide shot, robot wades through water… Description: "…yellow rain jacket, square badge on chest…"
You (fixing a mistake): Scene 2, shot 2 came back with a red jacket instead of yellow. Here is the storyboard. Give me a corrected description and a checklist before I try again.
Claude: The description dropped "yellow"… Checklist: (1) yellow jacket, (2) badge visible, (3) child's drawing on the package…
That back-and-forth is directing—not gambling on one lucky generation.
Credits and do-overs
TheFluxTrain charges credits for each drawing and video clip. Think of it like a film set budget: spend cheaply on storyboard drawings, set your character once, and only redo video where the story actually breaks.
Your first export proves the story works start to finish—even if some shots are rough. Your second pass replaces weak clips. Your third adjusts sound and pacing.
When you find a Flow Studio workflow that works, save it. Your second film should start from that template.
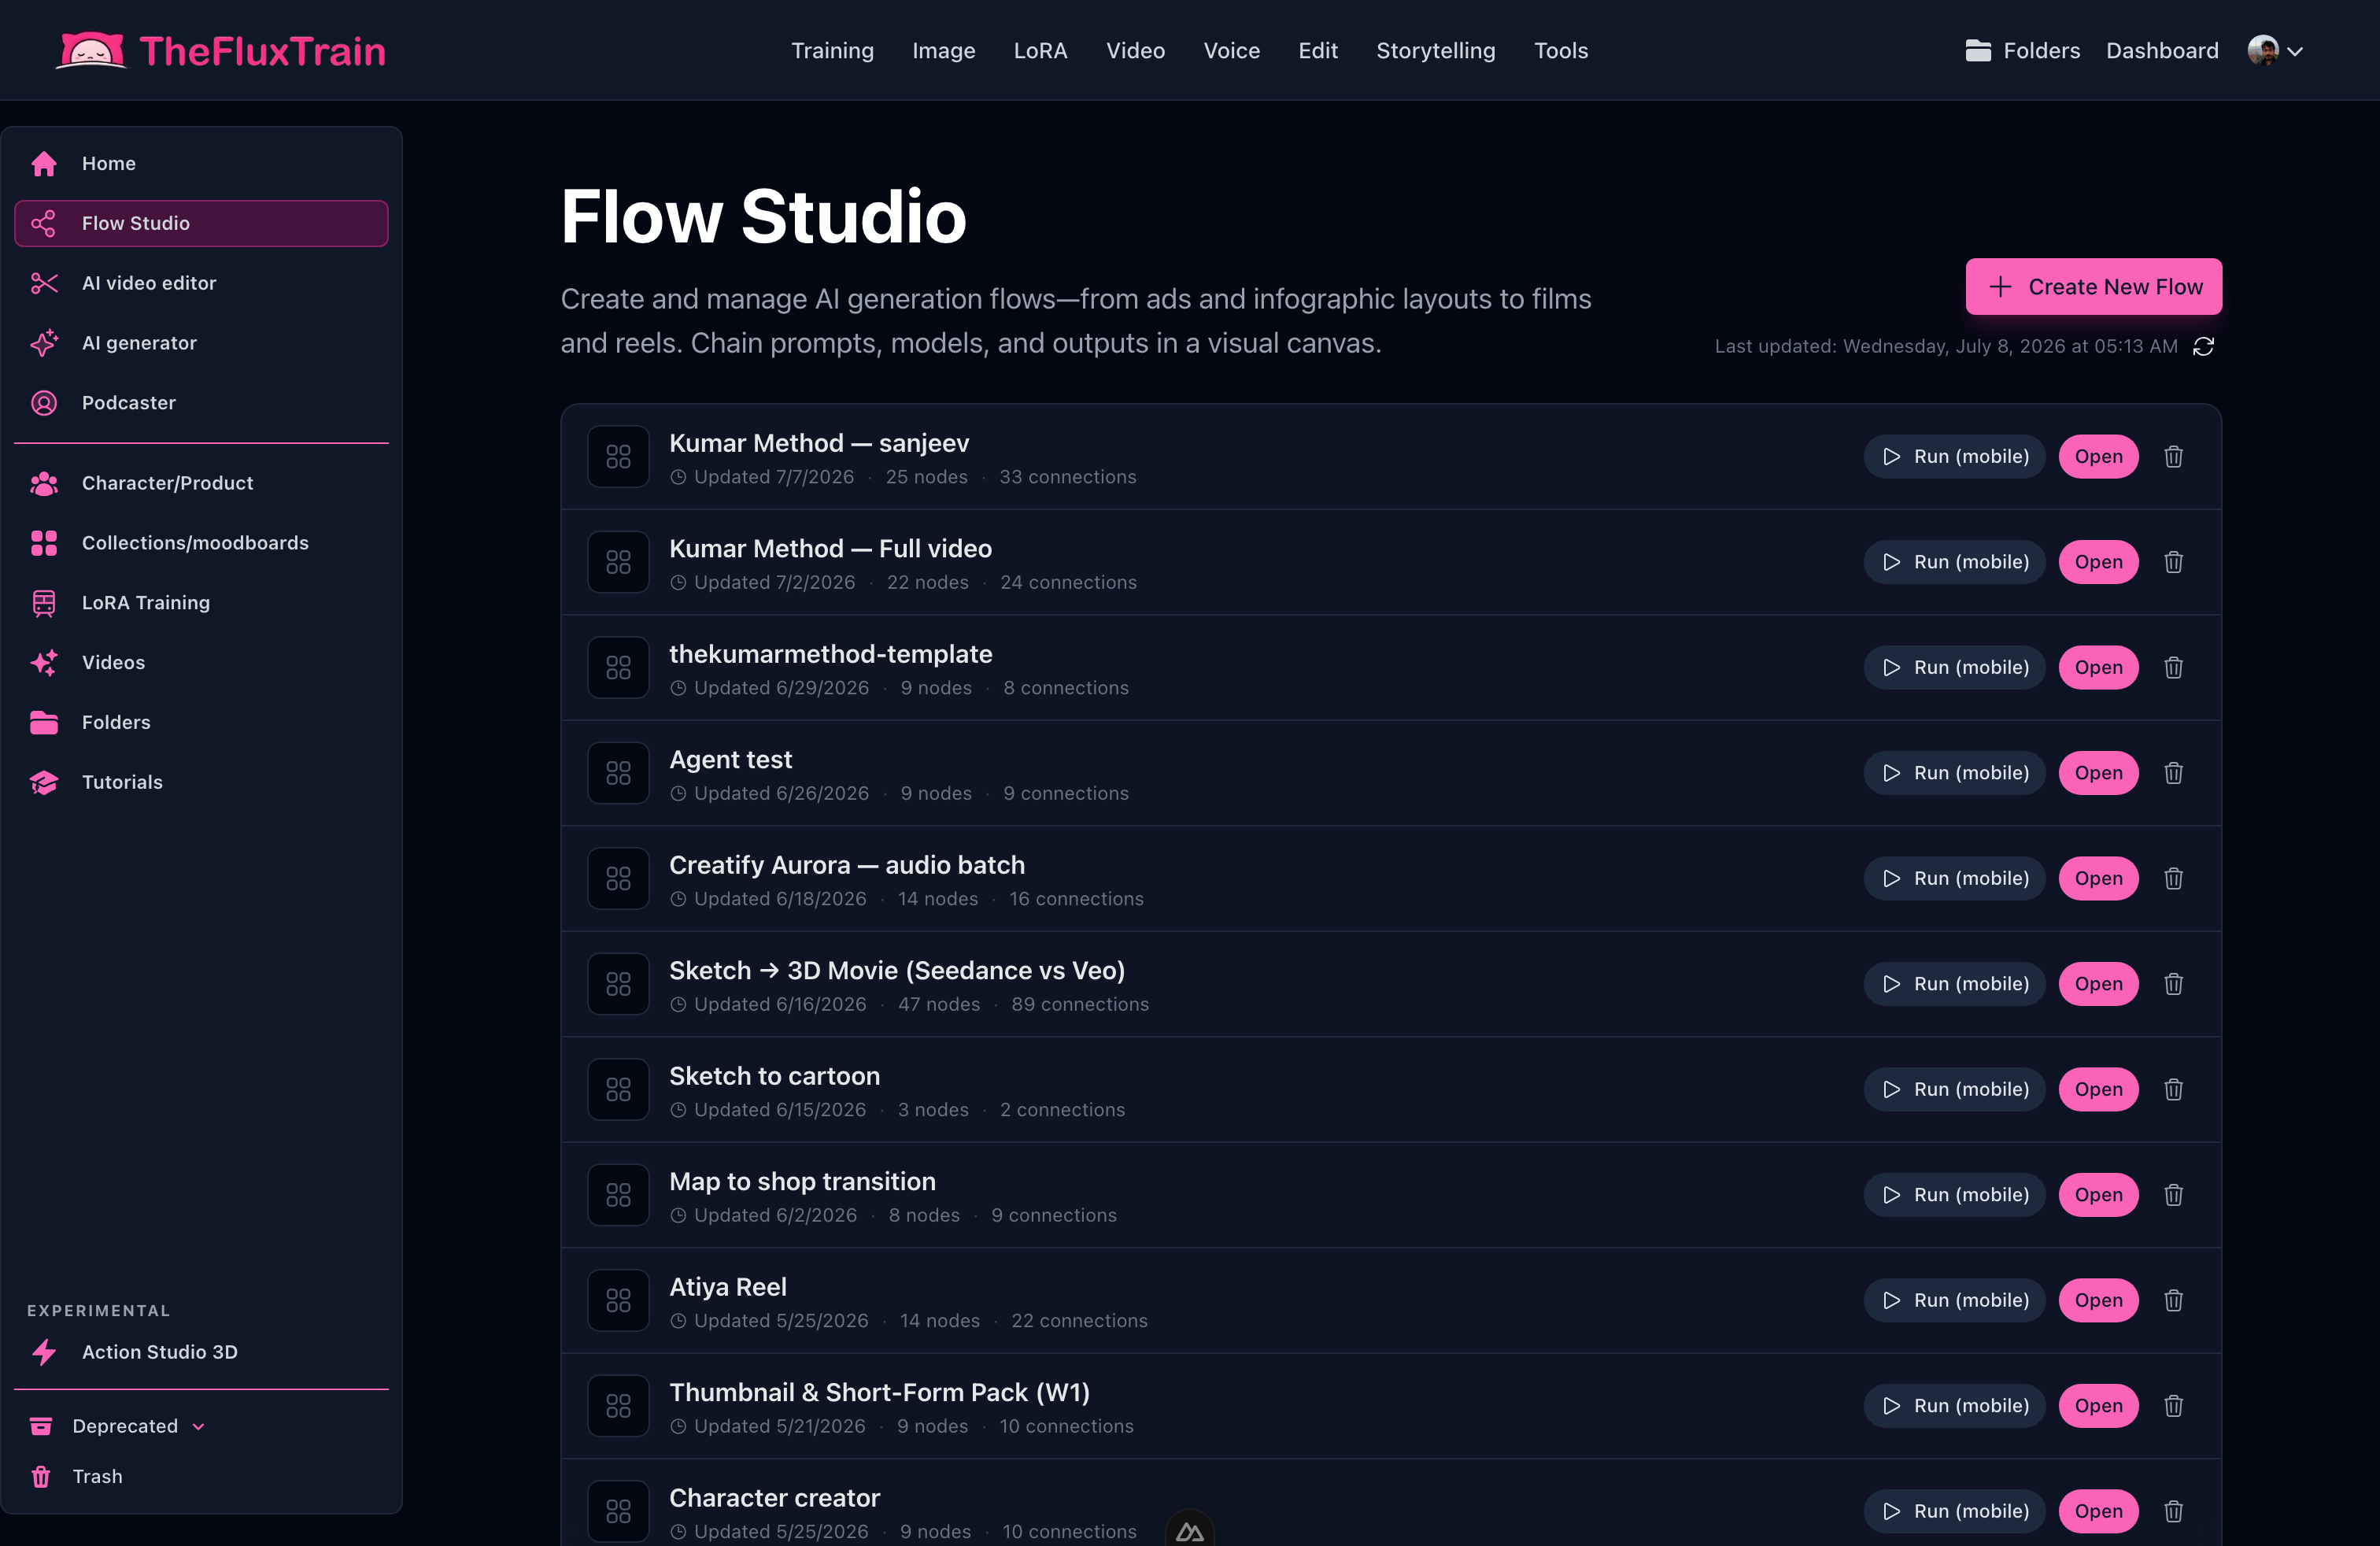
Reuse a workflow that worked—swap in a new story and run the same steps.
What should you read next?
- How to Maintain Character Consistency Across an AI Film
- What Is Vibe Video?
- How to Create Your First AI Short Film with Cursor and TheFluxTrain
Try it today
Open TheFluxTrain, create one character, make three storyboard drawings, and generate one scene clip. You do not need a perfect idea—you need a finished first draft.
Browse Explore for a film template to start from instead of a blank screen.
Start in ChatGPT for taste. Bring Claude back at every step. The conversation is the director's chair; TheFluxTrain is the crew.
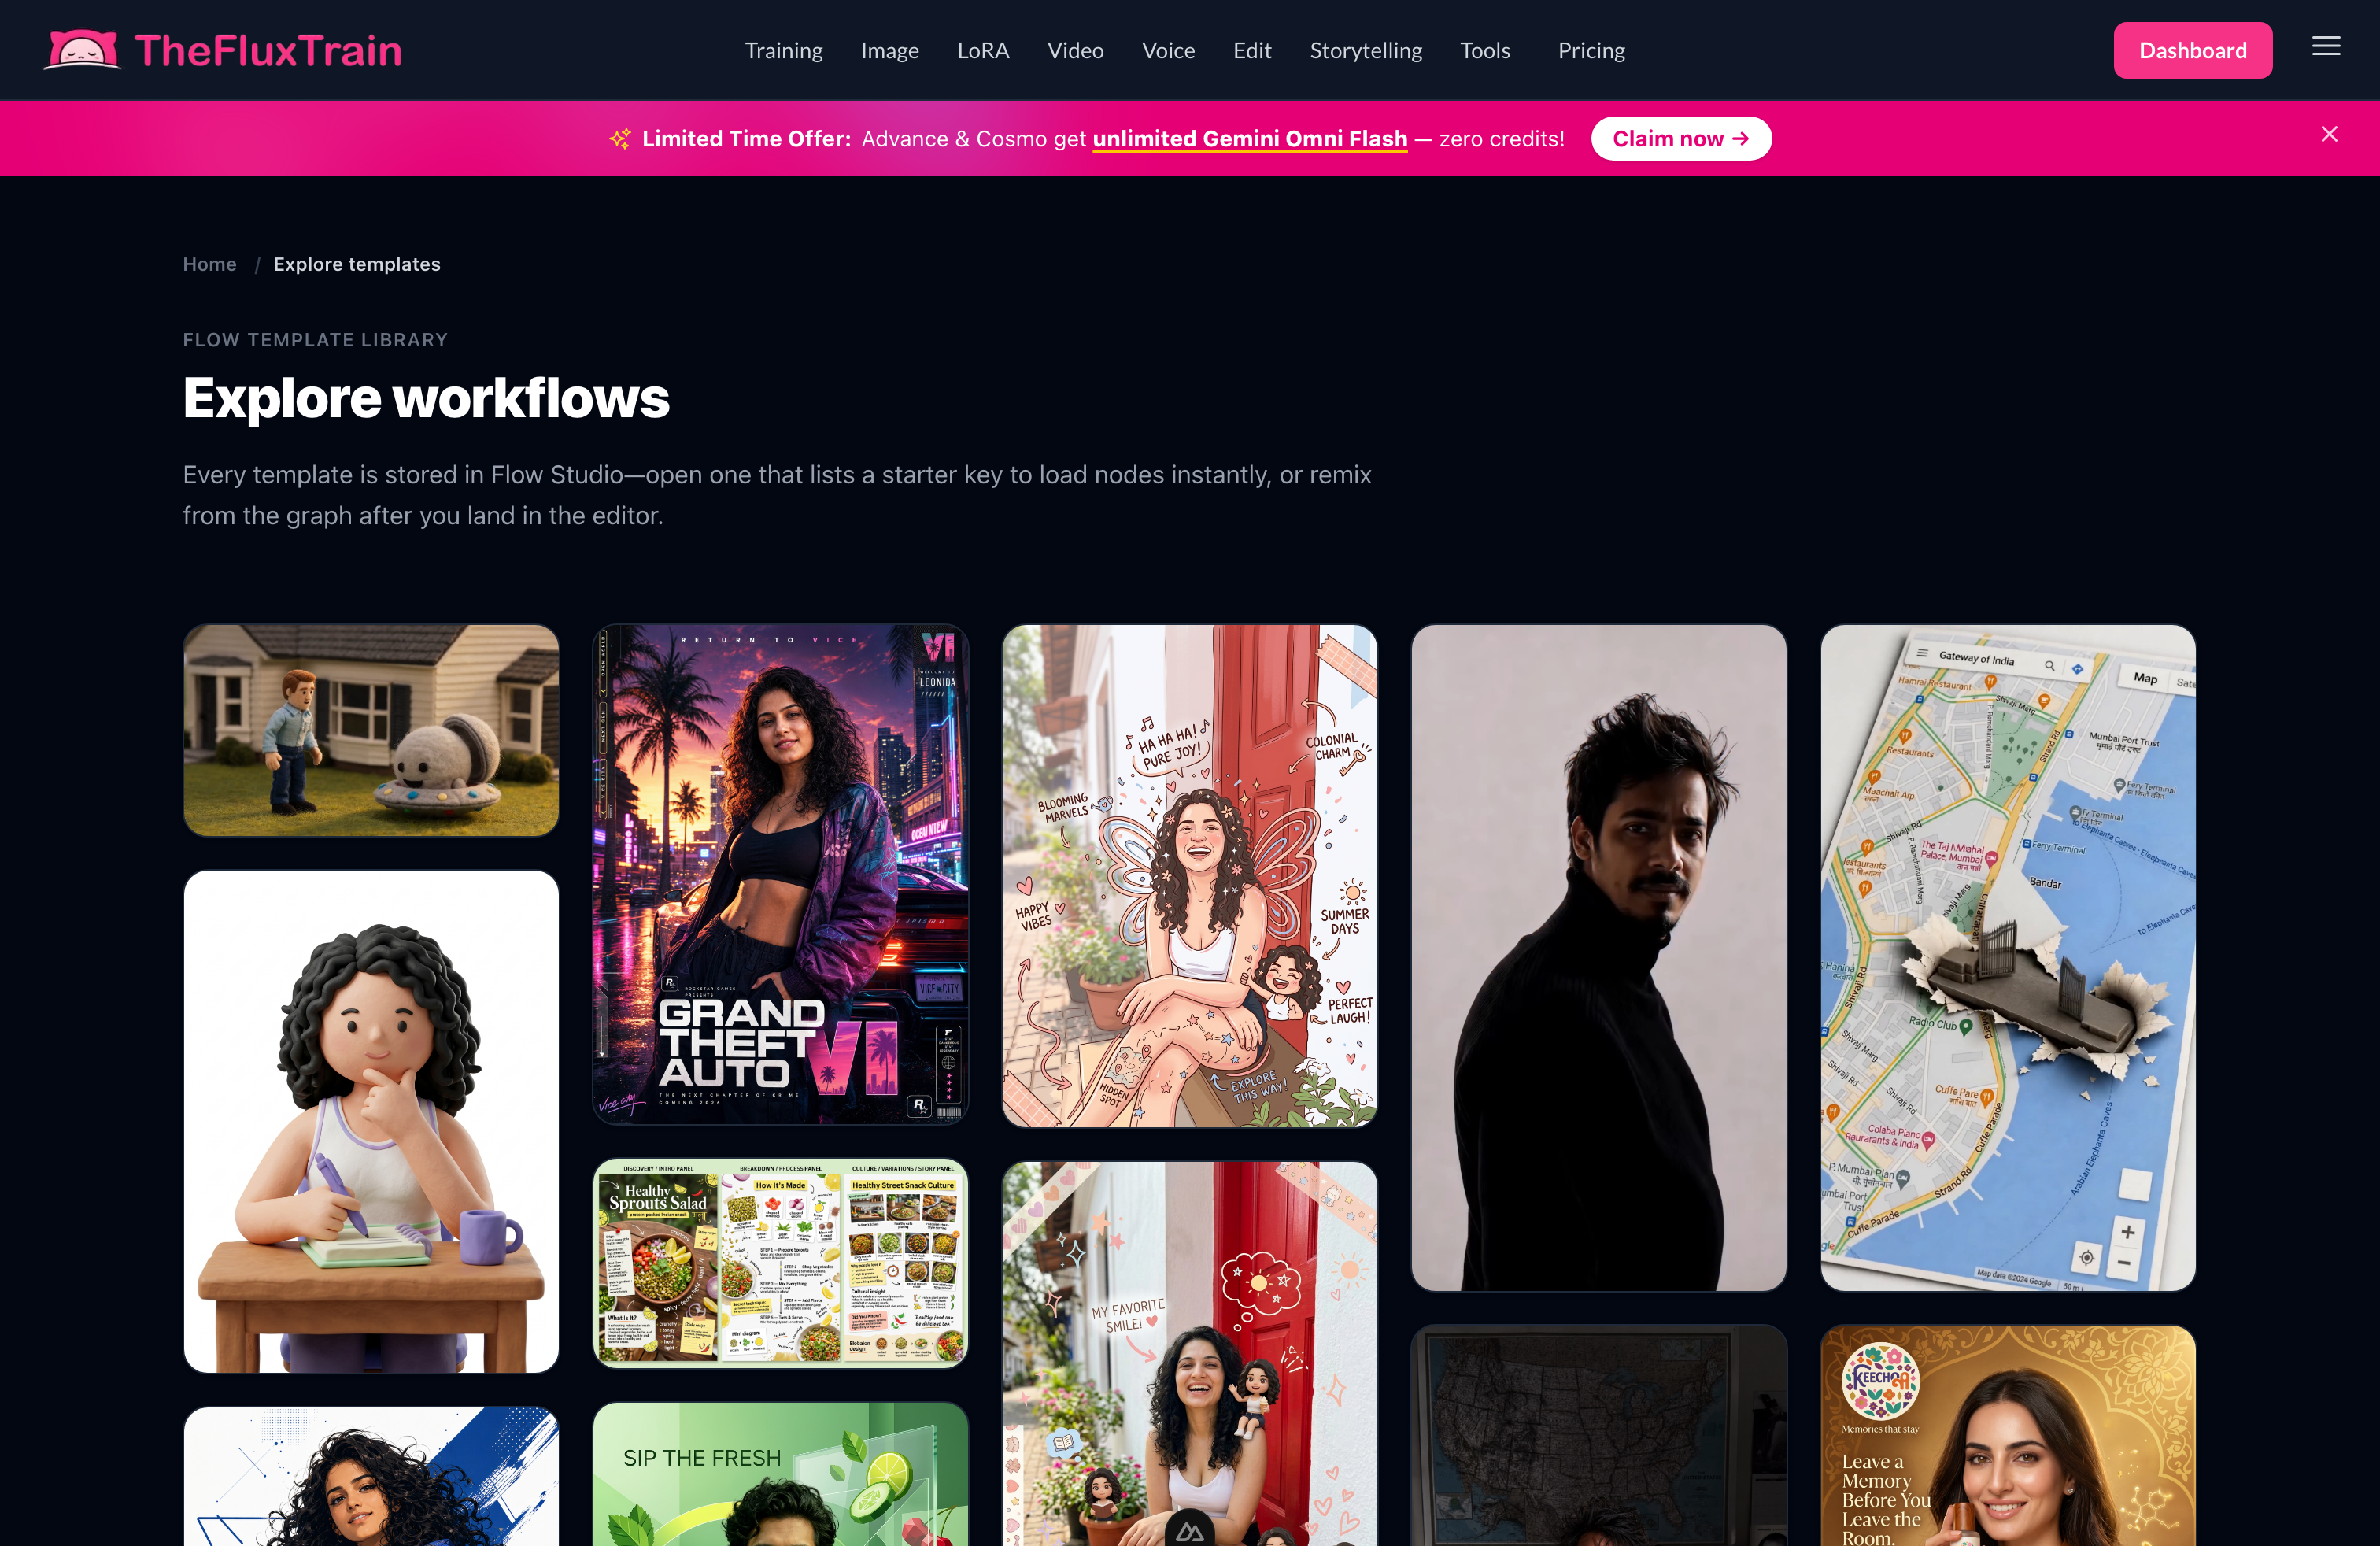
Open a film template, swap in your story and character, and run it.
Frequently asked questions
How long does a first AI short film take?
Plan 60–90 minutes of your time for a 30–60 second film with one character, plus waiting while clips generate. Your first export is a draft; expect a second round to fix weak shots and pacing.
What do you need before you start?
A one-sentence story idea, ChatGPT for brainstorming, Claude, a TheFluxTrain account with credits, and one video shape—wide (YouTube) or tall (TikTok/Reels)—for every shot.
Which AI models should beginners use?
GPT Image 2 for storyboard drawings; Seedance 2 for turning drawings into video. Other models work too—the step-by-step process matters more than the exact model on your first film.
Why storyboard before making video?
Still drawings are cheap to redo. Fix the face, clothes, and framing in drawings first so you do not waste credits on video you have to throw away.
How many credits should you budget for a first short?
A small film with three scenes and about nine shots, with a few retries each, adds up. Draw storyboards first, lock your character once, and only redo video where the story actually breaks.
Can you use Cursor instead of Claude?
Yes. Same steps with Cursor or a similar AI app. For a version where Cursor runs commands in a project folder, see How to Create Your First AI Short Film with Cursor and TheFluxTrain.
What is the biggest first-film mistake?
Jumping straight to video without a clear plan. Stick to one character, make storyboard drawings first, and copy the exact same clothing description into every shot.
How do you try it on TheFluxTrain?
Create one character, make three storyboard drawings, and generate one scene clip. Browse Explore for a film template instead of starting from a blank screen.