
Tutorials
Create a thekumarmethod-style video | TheFluxTrain

You have a clip where the movement is perfect — gesture, timing, camera — but the person or styling is wrong. Or you want a beat-synced intro montage like the luxury swagger tails you see on creator reels.
Reshooting is expensive. A one-shot “change this video” prompt usually fails because video models rewrite motion when you ask for appearance edits.
The Kumar Method — Full video flow splits the job into two pipelines on one canvas:
- Track A (input clip): Extract a frame → restyle into the speaking look → Motion Control drives your original motion onto the new identity.
- Track B (tail montage): Swap your face into six pre-wired pose plates → Seedance 2.0 stitches them into one beat-synced vertical montage with generated music.
This tutorial walks both tracks step by step. Screenshots and outputs below come from the shipped demo flow.
Note: Image and video generations use credits. Expect 10–20 minutes on a first run (six GPT Image 2 passes, one Motion Control, one Seedance) plus iteration if hands, skin tone, or motion need another pass.
Try it: The Kumar Method in Explore · Still-frame restyle only
What the finished outputs look like
Track A — speaking clip (Motion Control)
Track B — tail montage (Seedance 2.0)
What you'll need
- Source video — a clip with the motion you want to keep (face visible, minimal motion blur). Used on Track A.
- Clear portrait — well-lit headshot or 9:16 portrait for face swaps. Used on both tracks.
- Time: First full run usually takes 10–20 minutes including uploads and one or two regeneration passes.
Tail pose templates, speaking template, and Seedance montage prompt are pre-wired in the flow — you do not need to write them from scratch.
The workflow in one sentence
Upload clip + portrait → restyle frames with GPT Image 2 → Motion Control for speaking video; parallel tail face-swaps → Seedance montage for beat-synced intro.
Inputs and outputs (from the demo flow)
Inputs
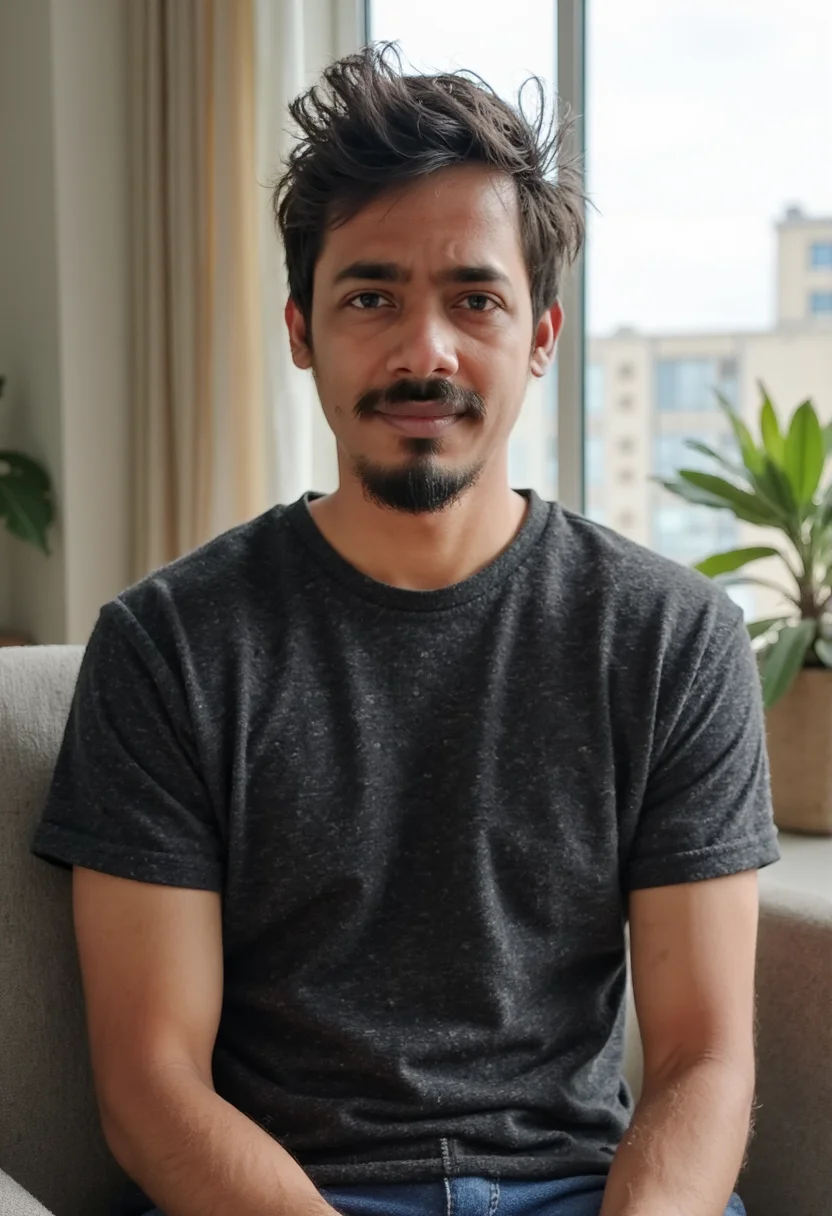
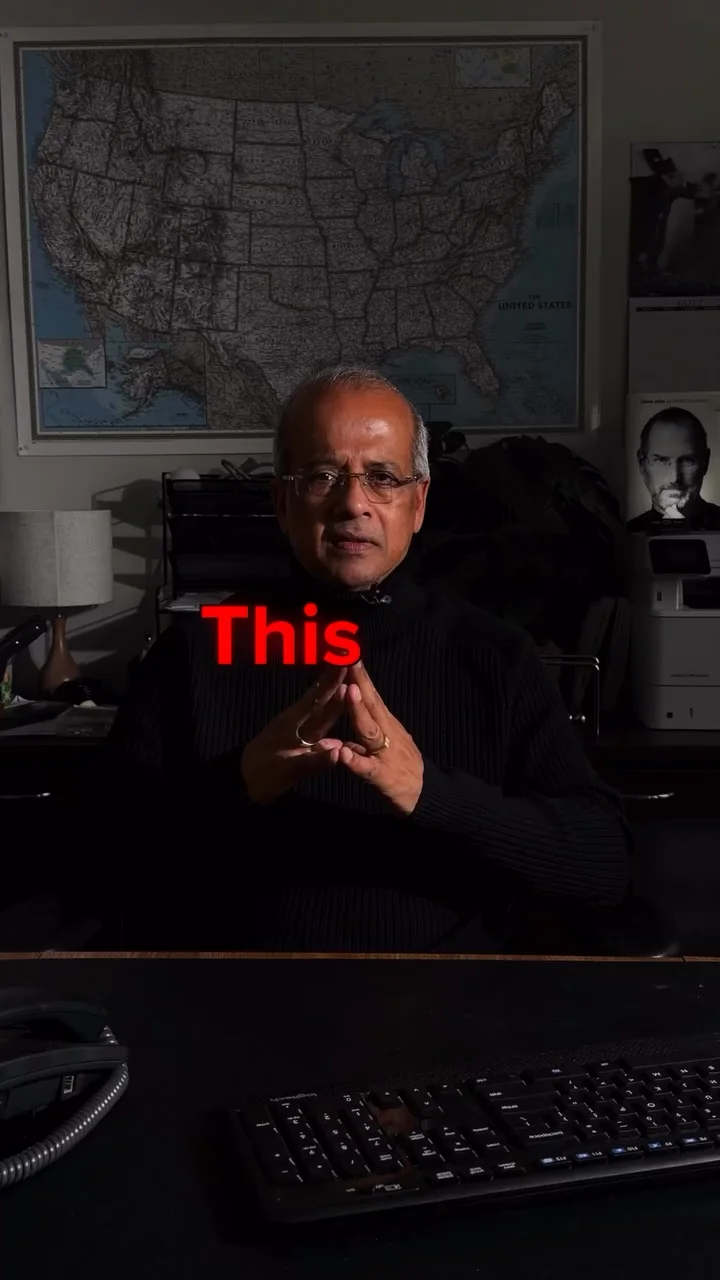
Outputs
Track A — Input clip → speaking video
Step 1: Add your source video
Open Motion — Source video and replace the placeholder with your clip — upload from disk or paste a hosted URL.
Pick footage where the subject's face is visible, not motion-blurred, and not blocked by props or hands.
Input — demo source clip wired to the motion sub-flow.
Step 2: Extract the best frame
Select Motion — First frame and click Generate.
The node shows Start, Custom, and End frame previews. Choose the one where the person reads clearest — usually Custom after you set Custom time to a sharp mid-gesture moment.
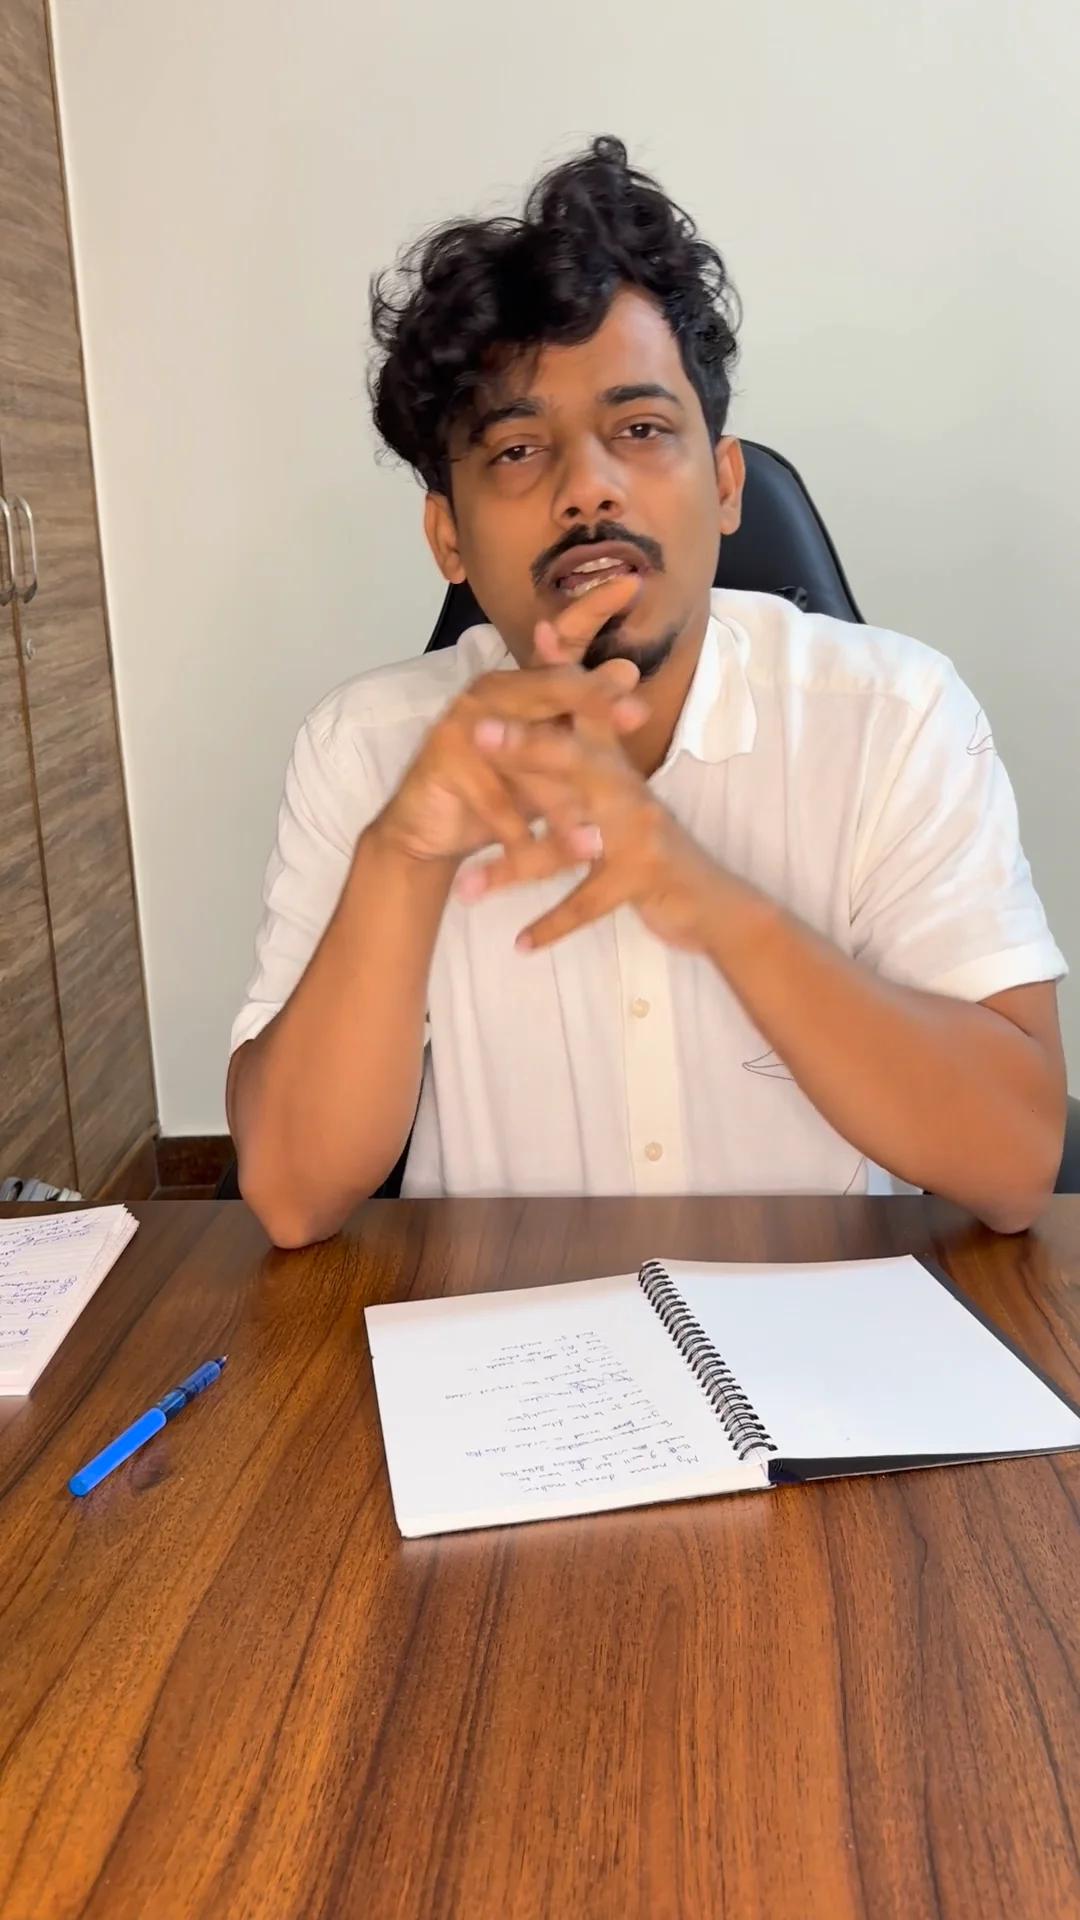
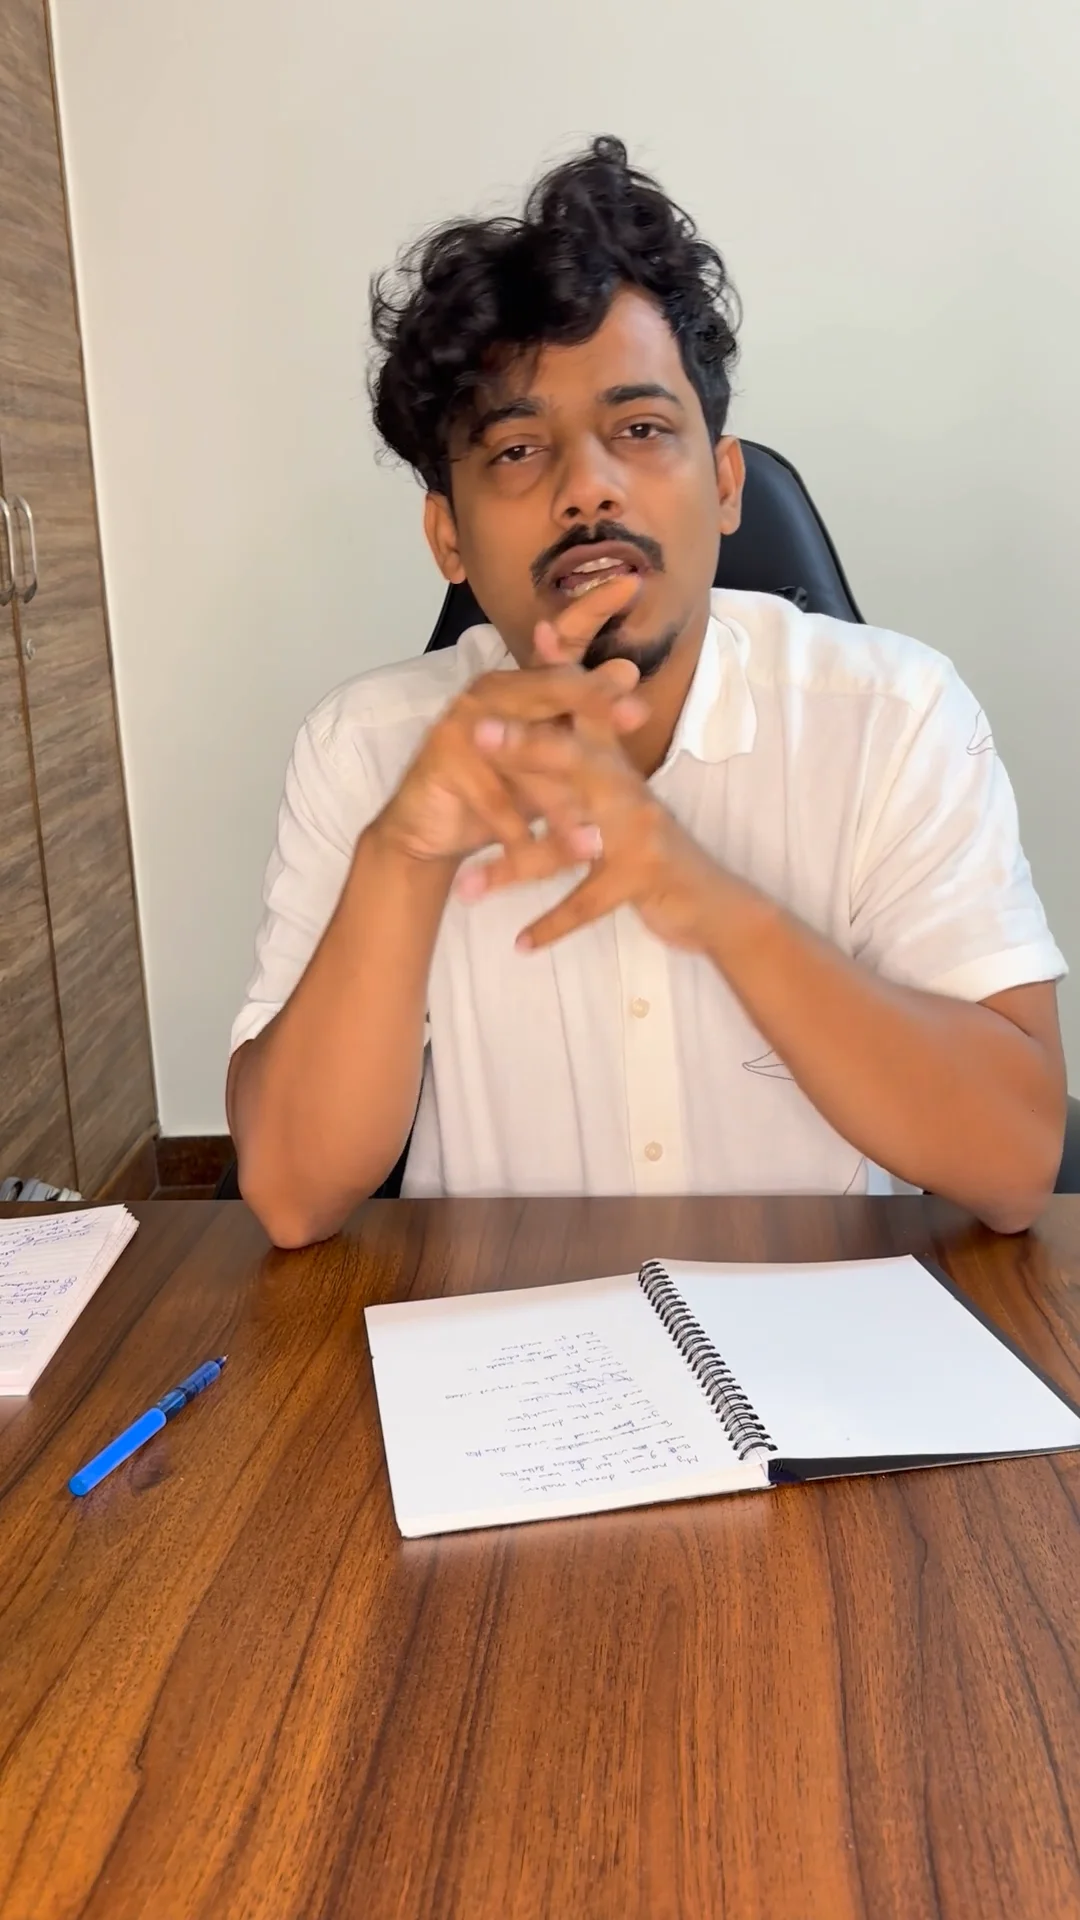
If the Custom frame is wrong, adjust Custom time slightly and generate again. Do not move on until one frame looks sharp.
Step 3: Restyle into the speaking look
Select GPT Image 2 — Restyle to speaking and click Generate.
The node combines your extracted frame with the pre-wired speaking_01_start template — wardrobe, desk pose, rim lighting — while preserving your identity from the clip.
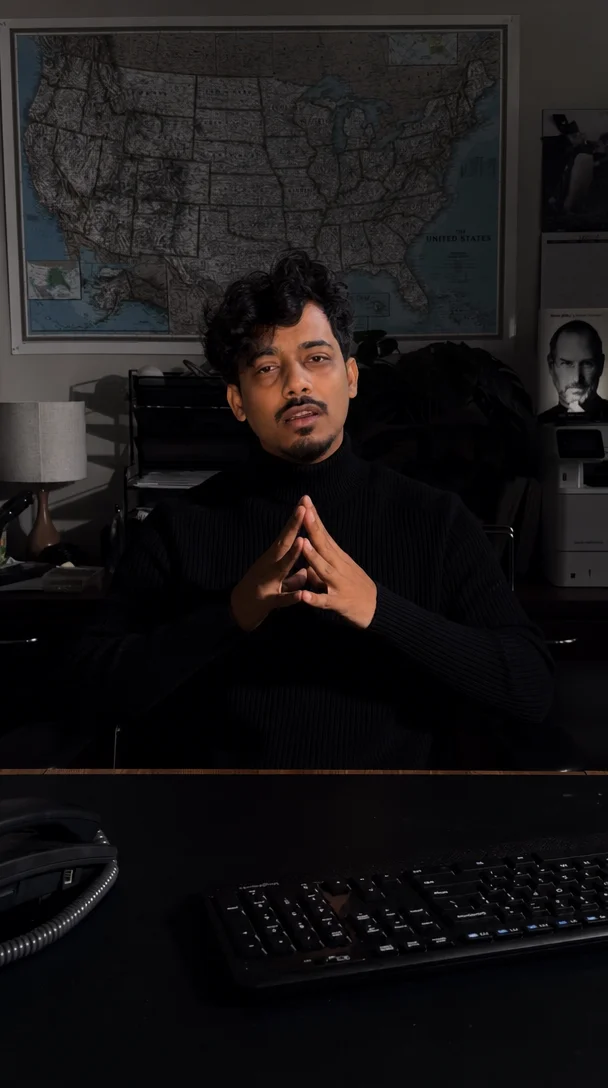
Inspect results in the node sink — arrow through variants and pick the one where skin tone, hands, and wardrobe look correct. Regenerate if needed.
Step 4: Run Motion Control
Select Motion Control and click Generate.
This node uses your restyled still as the appearance plate and your original source video as the motion driver. Download the MP4 from the node sink when finished.
Output — animated speaking clip driven by your source motion.
Note: If you change the source video or extracted frame, re-run Motion — First frame, then GPT Image 2, then Motion Control so downstream inputs stay in sync.
Track B — Tail intro montage
Step 1: Set your portrait
Open 1. Your portrait and upload your headshot (or paste a hosted URL from tft files upload).
This is the only required swap on the montage track — tail templates and the Seedance prompt are already wired.
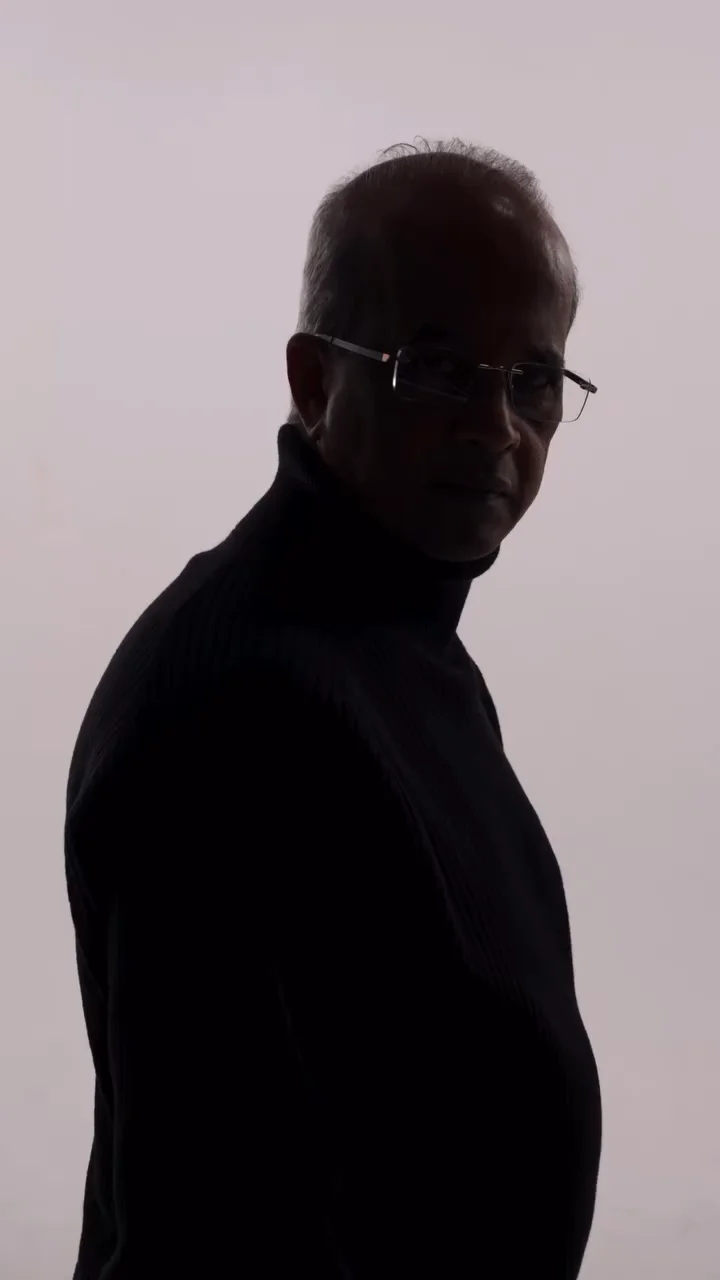
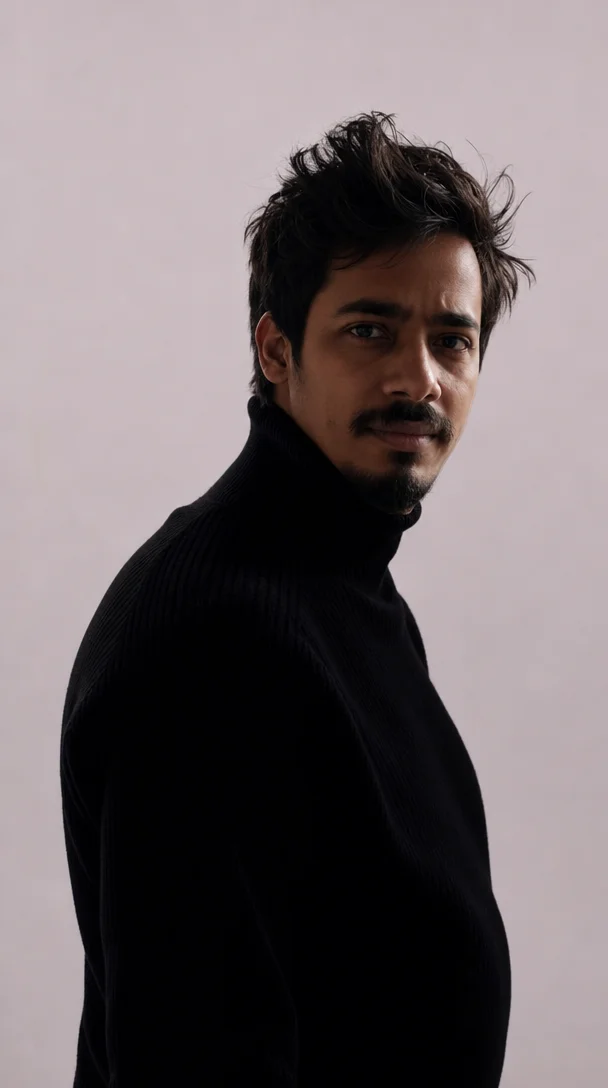
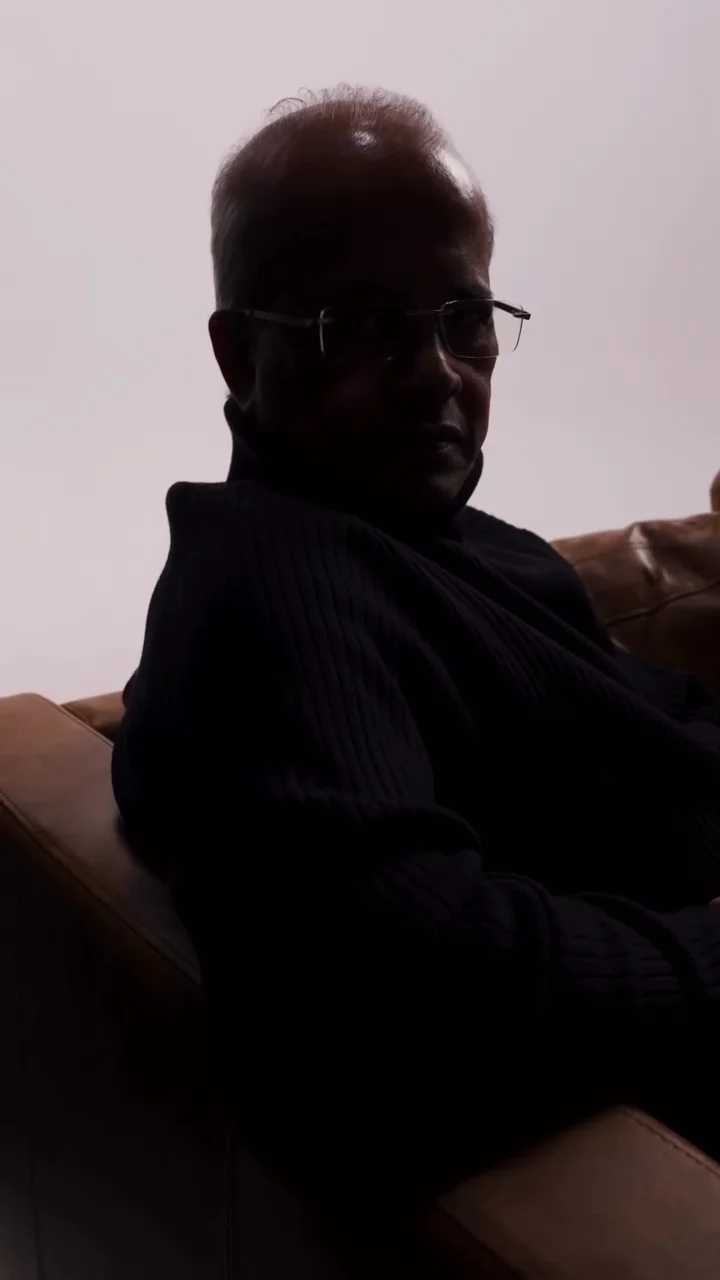
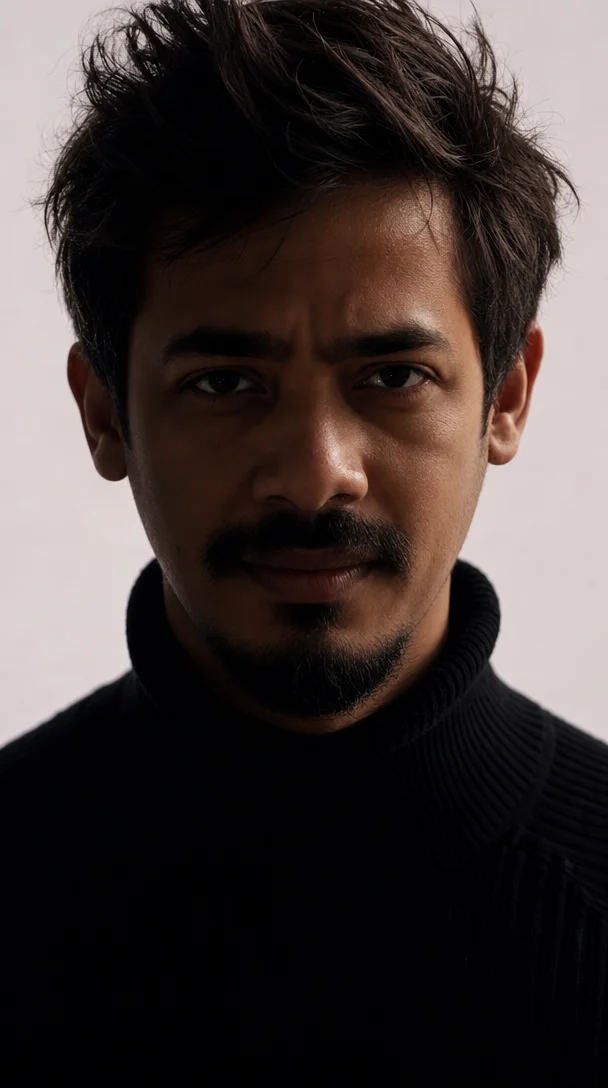
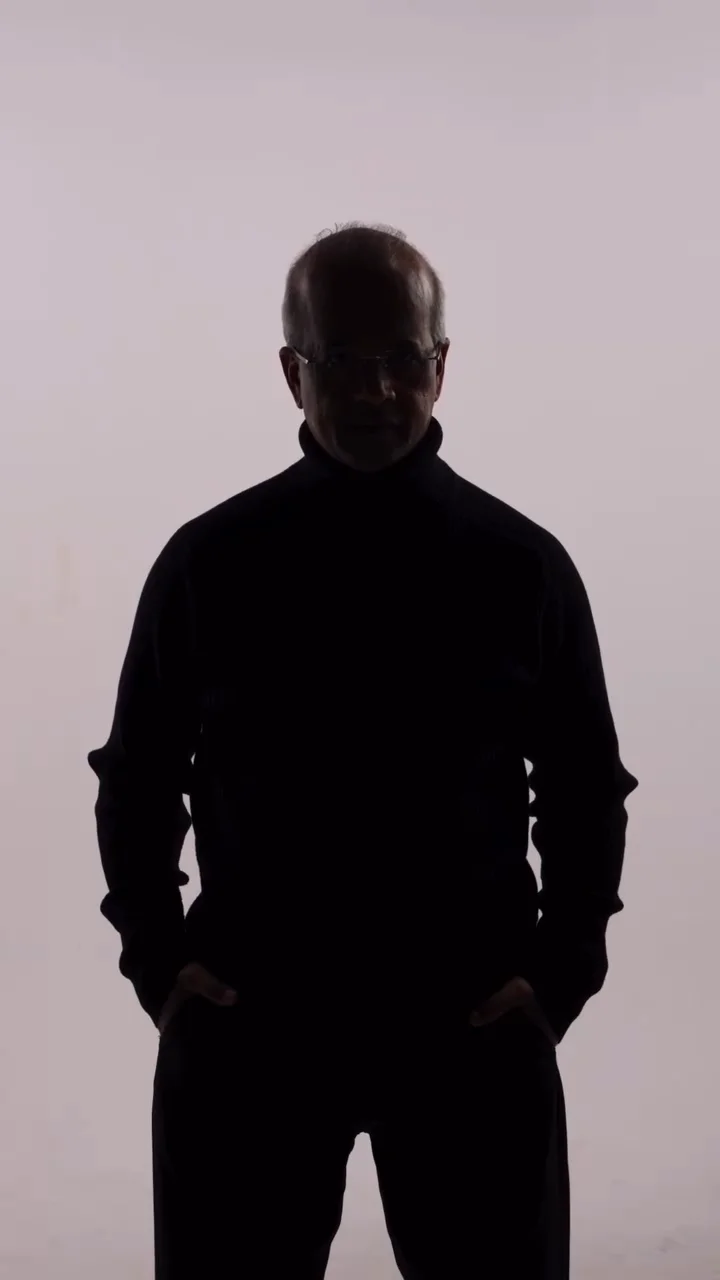
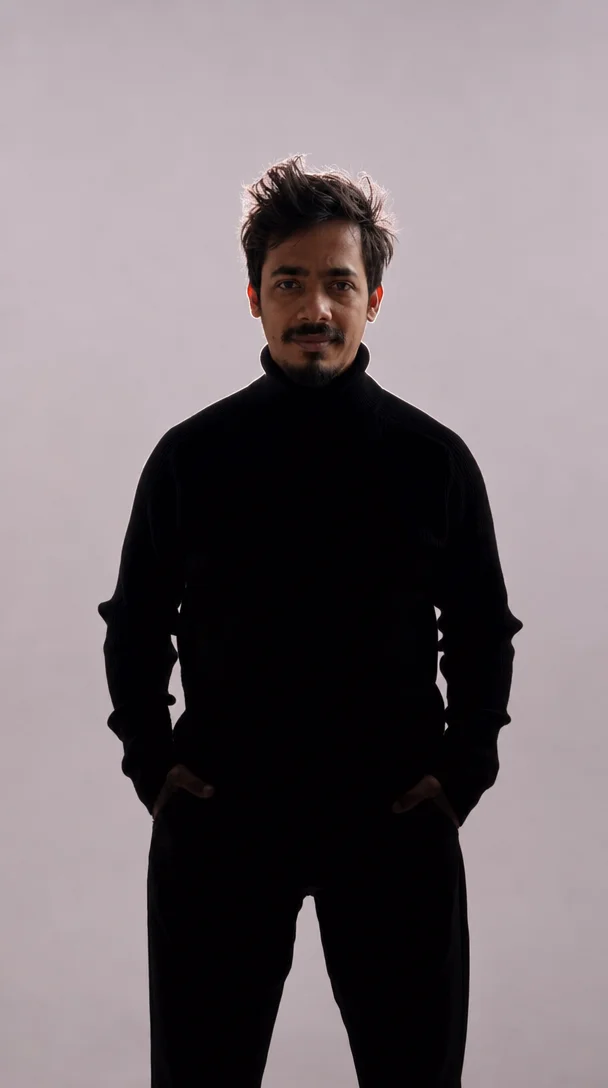
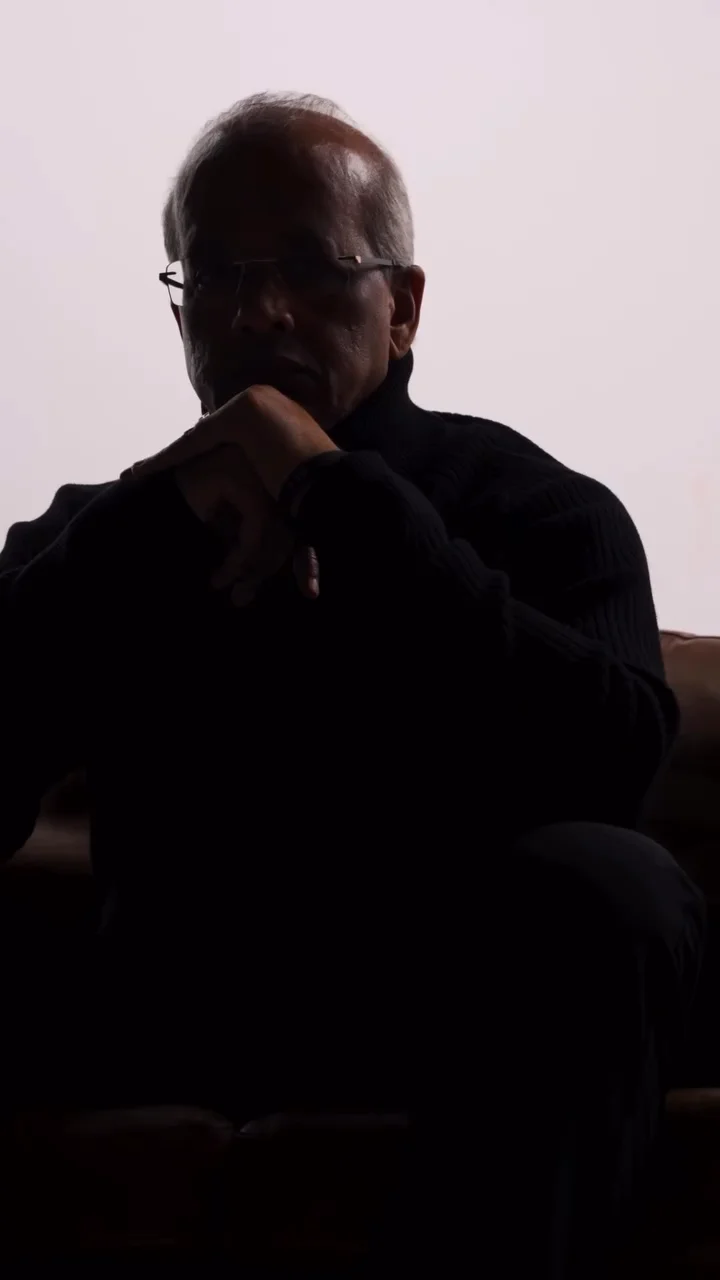
Step 2: Generate all six tail frames
Click Generate on each GPT Image 2 — Tail frame 01 through 06 node, in any order.
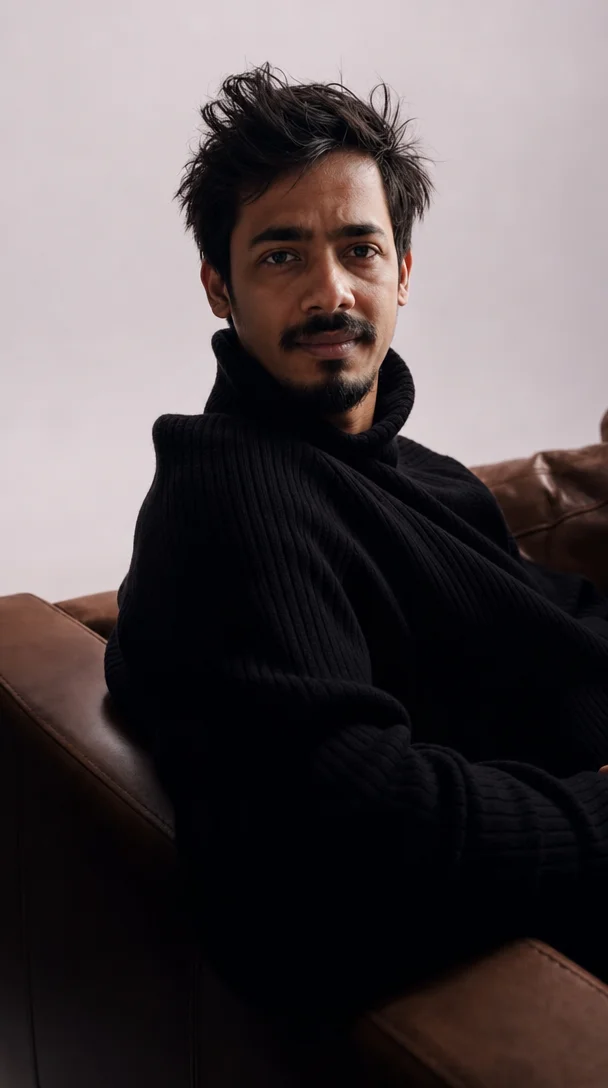
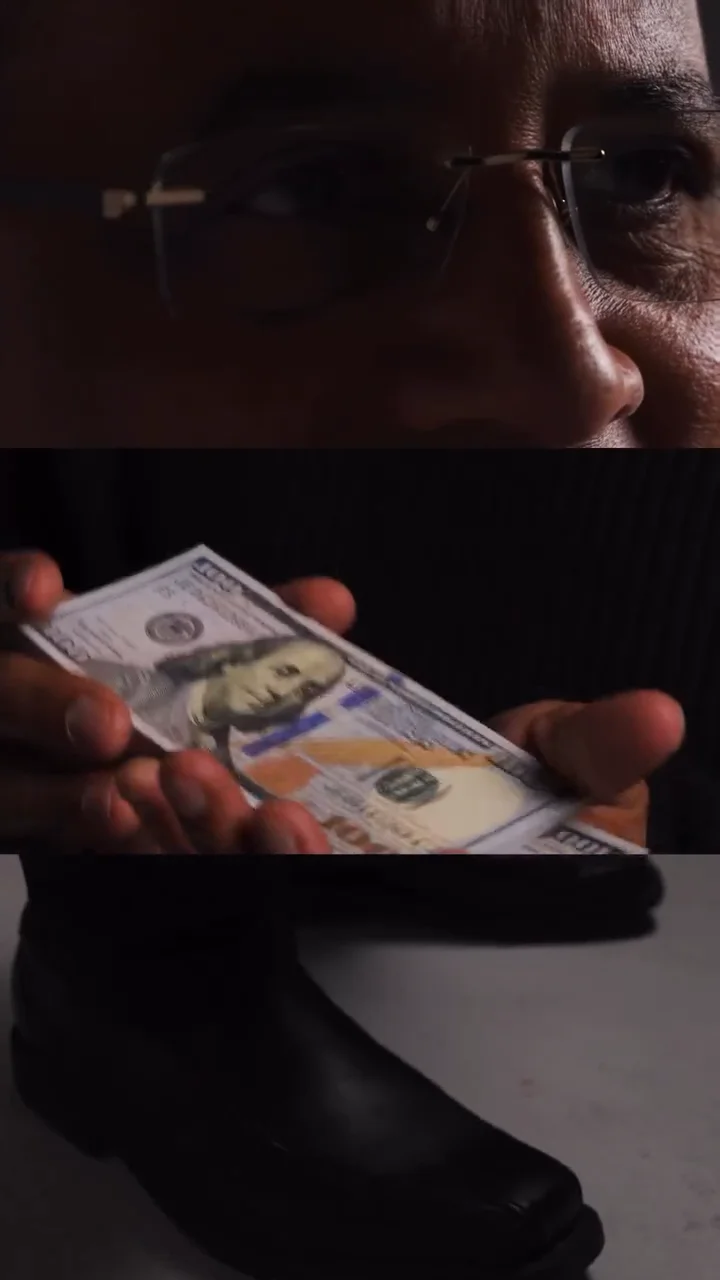
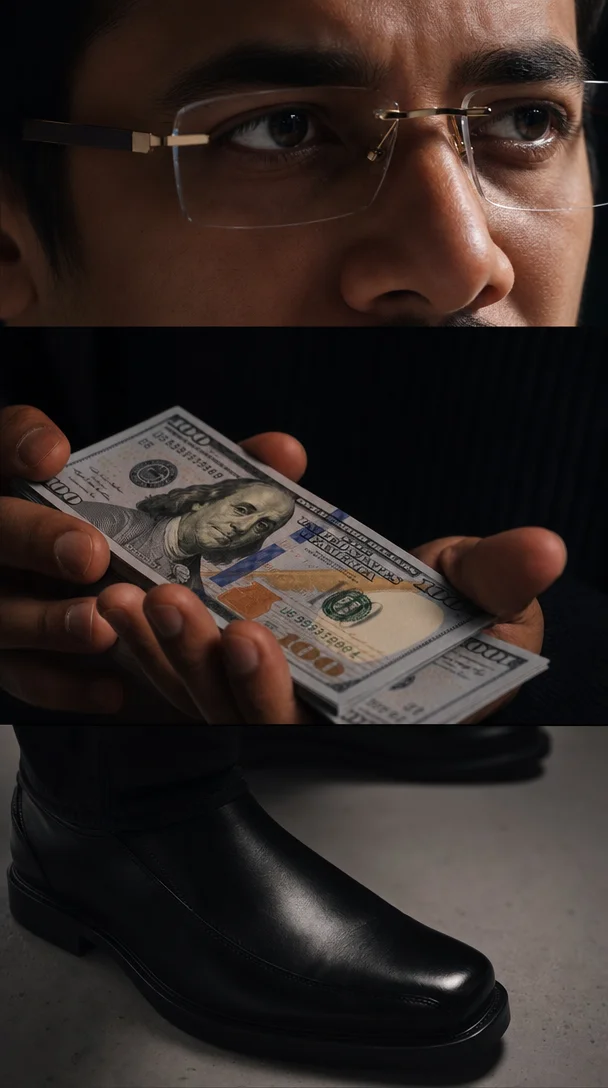
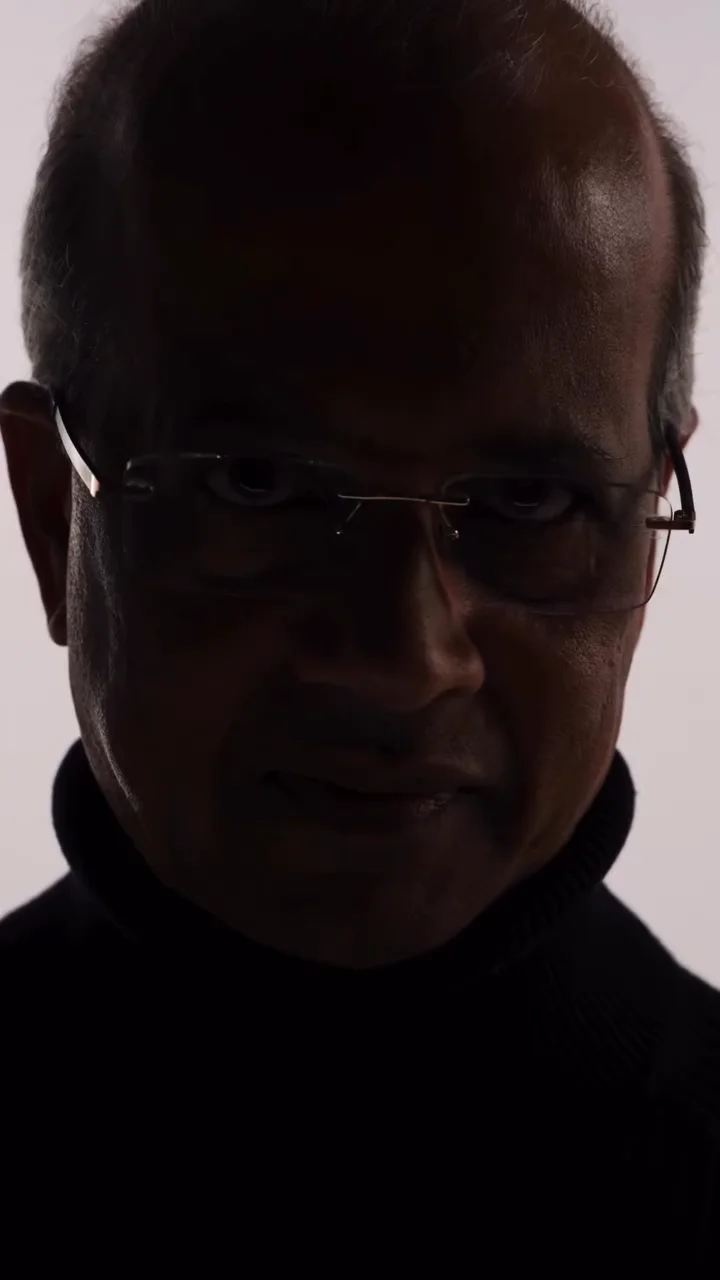
Each node face-swaps the matching tail template with your portrait while keeping pose, framing, and rim lighting. Use the node sink (arrow keys) to pick the best variant before moving on.
Frame 03 is special: the still image keeps all three panels stacked (eye / cash hands / dress shoe). The video reveals them one at a time from top to bottom on successive downbeats.
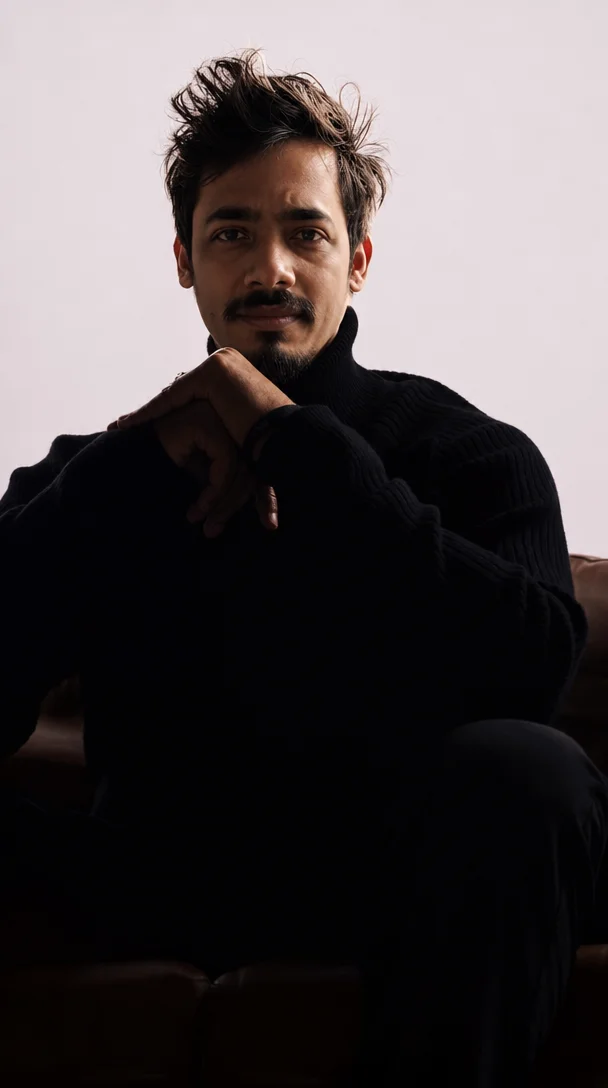
Step 3: Generate the montage video
Once all six frames have an approved image in their sink, click Generate on Seedance 2.0 — Tail montage.
This node receives all six frames as @Image 1–@Image 6 screen references. Music is generated in-video (no separate audio input). Pose changes land on each downbeat with glitch and RGB fringe; Screen 3 shows one panel at a time (top → middle → bottom).
Output — beat-synced 9:16 tail montage with generated instrumental.
Download the MP4 from the Seedance 2.0 — Tail montage node sink.
Tips and troubleshooting
- Blurry or dark frames (Track A) → scrub to another moment or use a brighter source clip before re-running Motion — First frame.
- Hands look wrong → regenerate the affected GPT Image 2 node; sometimes it takes two passes for skin age and tone to match across face and hands.
- Subject looks frozen in montage → re-run Seedance — the pre-wired prompt includes a motion rule for alive micro-movement within each beat.
- Seedance fails → confirm all six GPT tail nodes finished and each sink has a selected image.
- Nothing updates after you swap media → run nodes in order: Extract Frame → GPT Image 2 → Motion Control (Track A); portrait → six tail frames → Seedance (Track B).
- Only need a restyled still? → see the still-frame Kumar Method tutorial.
Limitations
- Treat first passes as drafts — expect color, trim, and caption work outside Flow Studio for hero campaigns.
- Only animate people you are authorized to depict.
- Extreme occlusions (heavy masks, turned-away faces) reduce swap quality — pick another frame first.
- Legal and brand review still apply for client work.
Assemble and export in the Video Editor
Flow Studio gives you the generated clips — speaking motion, tail montage, and any extra scene passes. The final intro cut (scene order, music, on-screen text, trim) happens in TheFluxTrain Video Editor.
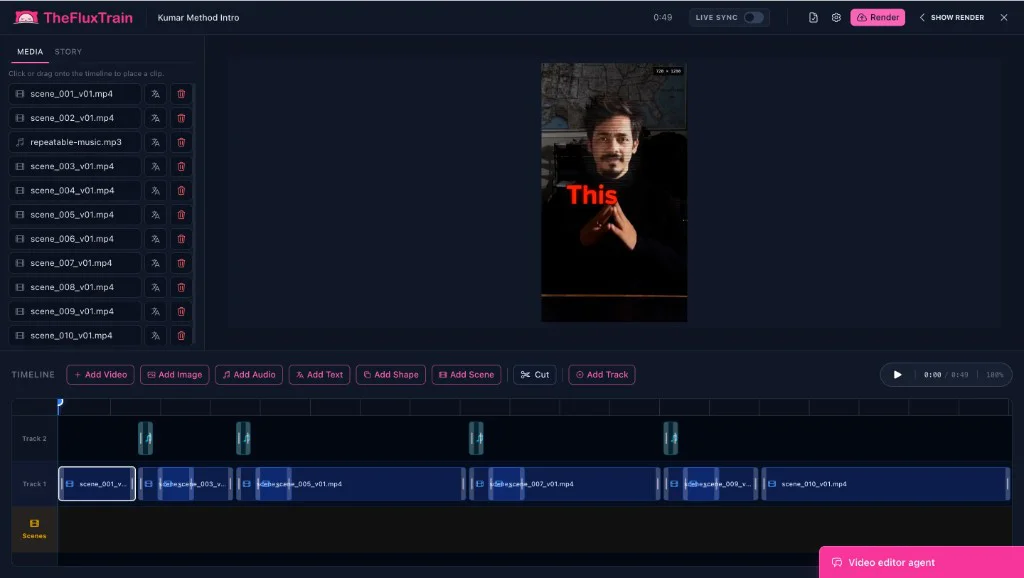
Example layout: numbered scene clips on the main track, reference music underneath, text overlays on top — same structure as a thekumarmethod-style intro montage.
Step 1: Download your Flow Studio outputs
From the flow, download every clip you plan to use:
- Motion Control MP4 (Track A — speaking segment)
- Seedance tail montage MP4 (Track B — beat-synced tail)
- Any additional scene or variant exports from node sinks
Save them locally with clear names (scene_001.mp4, scene_002.mp4, …) so the timeline stays easy to follow.
Step 2: Grab the reference soundtrack
Pick a reference reel whose music and pacing match the vibe you want (luxury swagger, beat-synced cuts).
Use any Instagram video downloader (or the same tool for Reels/TikTok) to save the reference video, then extract the audio:
- Many downloaders offer “audio only” or MP3 export directly.
- If you only get a video file, strip the audio with a free converter or the extract-audio guide.
Rename the file something obvious (repeatable-music.mp3) — you will line it up on audio track 2 in the editor.
Note: Use reference audio only for personal drafts and style matching. For published work, replace with licensed or original music.
Step 3: Build the timeline
Open Video Editor and create a project (e.g. Kumar Method Intro).
- Import media — upload your scene MP4s and the music file into the project media library.
- Place scenes in order — drag clips onto track 1 left to right (
scene_001→scene_010or however many you generated). Trim each clip so cuts land on the downbeats you hear in the music. - Add the music — drop
repeatable-music.mp3on track 2 (or a dedicated audio track). Mute original clip audio if the generated clips carry unwanted sound; let the downloaded track drive the edit. - Text and overlays — use Add Text for hook words (“This”, brand name, etc.). Position and duration in the preview — edit in place on the timeline until the typography matches your reference.
- Fine-tune — nudge clip in/out points, add Cut splits where a scene should change on the beat, and check 720×1280 (9:16) framing in the preview before you commit.
Step 4: Render and export
When the timeline plays cleanly start to finish:
- Toggle Live sync if you want playback locked to the timeline.
- Click Render and wait for the export job to finish.
- Download the final MP4 and spot-check on a phone — vertical intros read differently than on desktop.
You can re-open the same project later to swap a scene, replace the music, or adjust text without re-running the whole Flow Studio graph.
Next step
Open The Kumar Method in Explore, swap in your clip and portrait, and iterate until both outputs are approval-ready. Then assemble scenes and music in the Video Editor and export your intro.
For still-frame restyle only, see Create images like thekumarmethod. For single-scene motion without this graph, continue with Motion Apply.